Measure
 Turn on ruler
Using the ruler, the user can measure distances and azimuths.
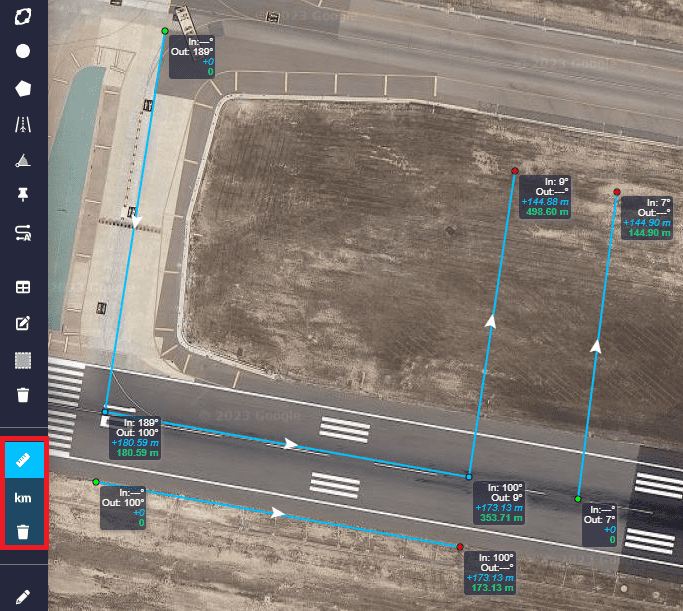
Ruler
The following information can be found in the each point of the figure above:
In (º): Azimuth in degrees of the ‘incoming’ measure. The azimuth is the angle of the segment with respect to North.
Out (º): Azimuth in degrees of the ‘outcoming’ measure. The azimuth is the angle of the segment with respect to North.
Blue measurement: Distance from the previous point.
Green measurement: Distance from the first point.
Note
There 3 different types of points on the ruler segments:
Green point: Indicates the start of the route.
Blue point: Midway point of the route.
Red point: End of the route.
In addition, by clicking on the ruler icon, two more options will appear:
 Change units: The user can change the units of the measurements by clicking on this icon. The available units are: \(km\) (kilometeres), \(mi\) (miles) and \(nm\) (nautical miles).
Note
The ruler indicates the measures with 2 decimals in order to have more precision, as can be seen in the figure above.
 Clear measurements: By clicking on it, it is possible to delete all the measurements in the mission. A confirmation pop-up window will then appear to make sure that all measurements wish to be deleted.
Remove all measurements
Paint
 Enable paint
This tool allows the user to make quick notes during the operation.
To access the paint option, click on this icon, a ‘Paint toolbar’ will then appear:
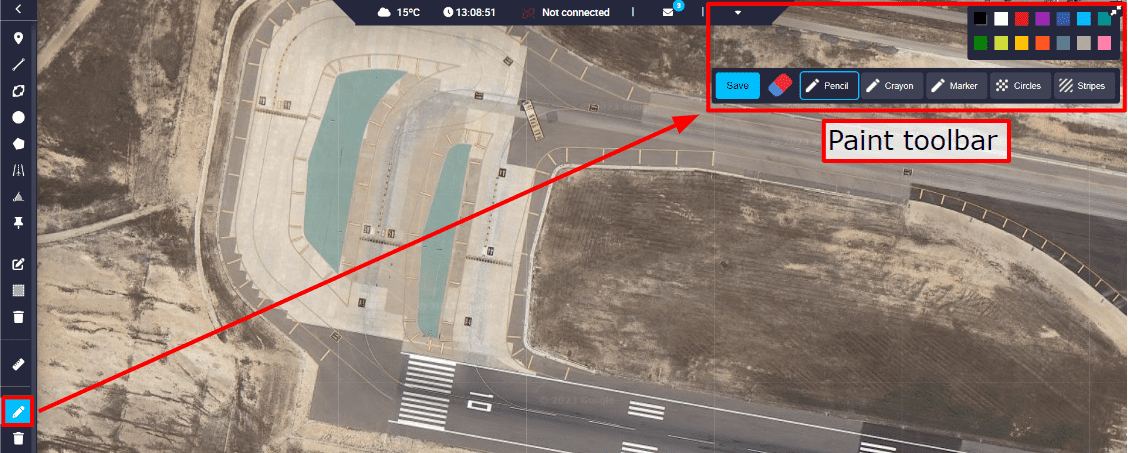
Paint toolbar
Users can choose from a variety of ‘writing elements’ and colors to paint:
Pencil
Crayon
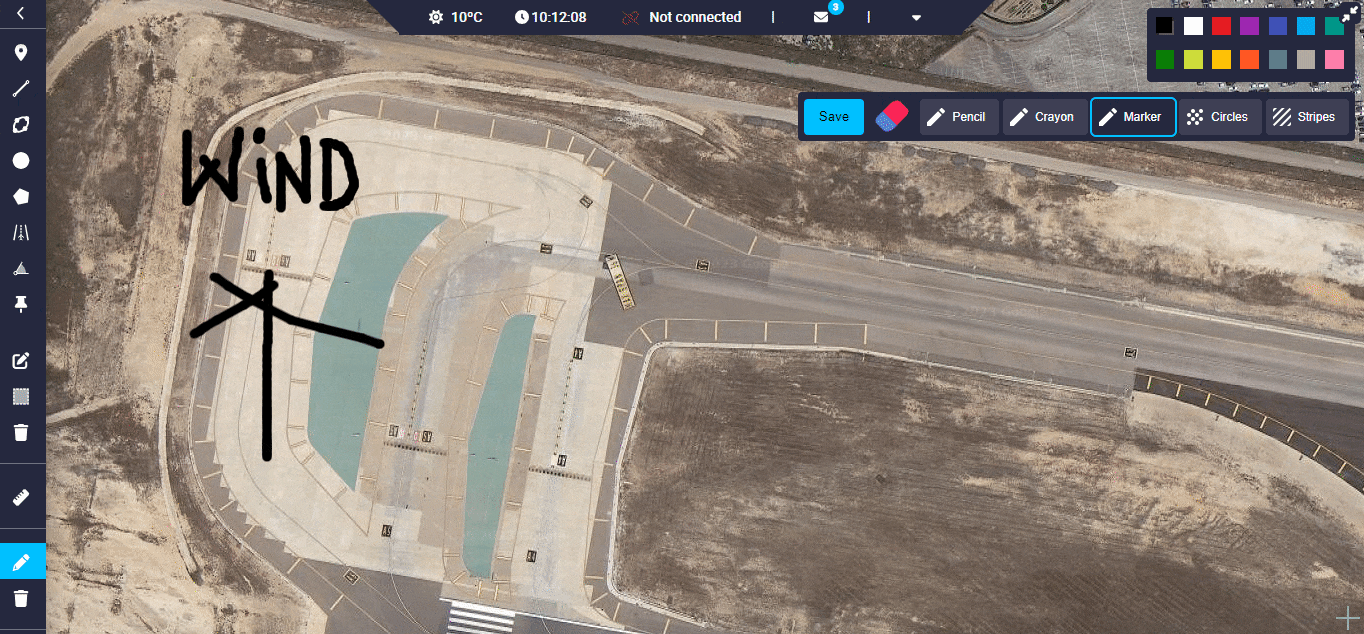
Marker
Circles
Striples
An example of each is shown in the figure below:
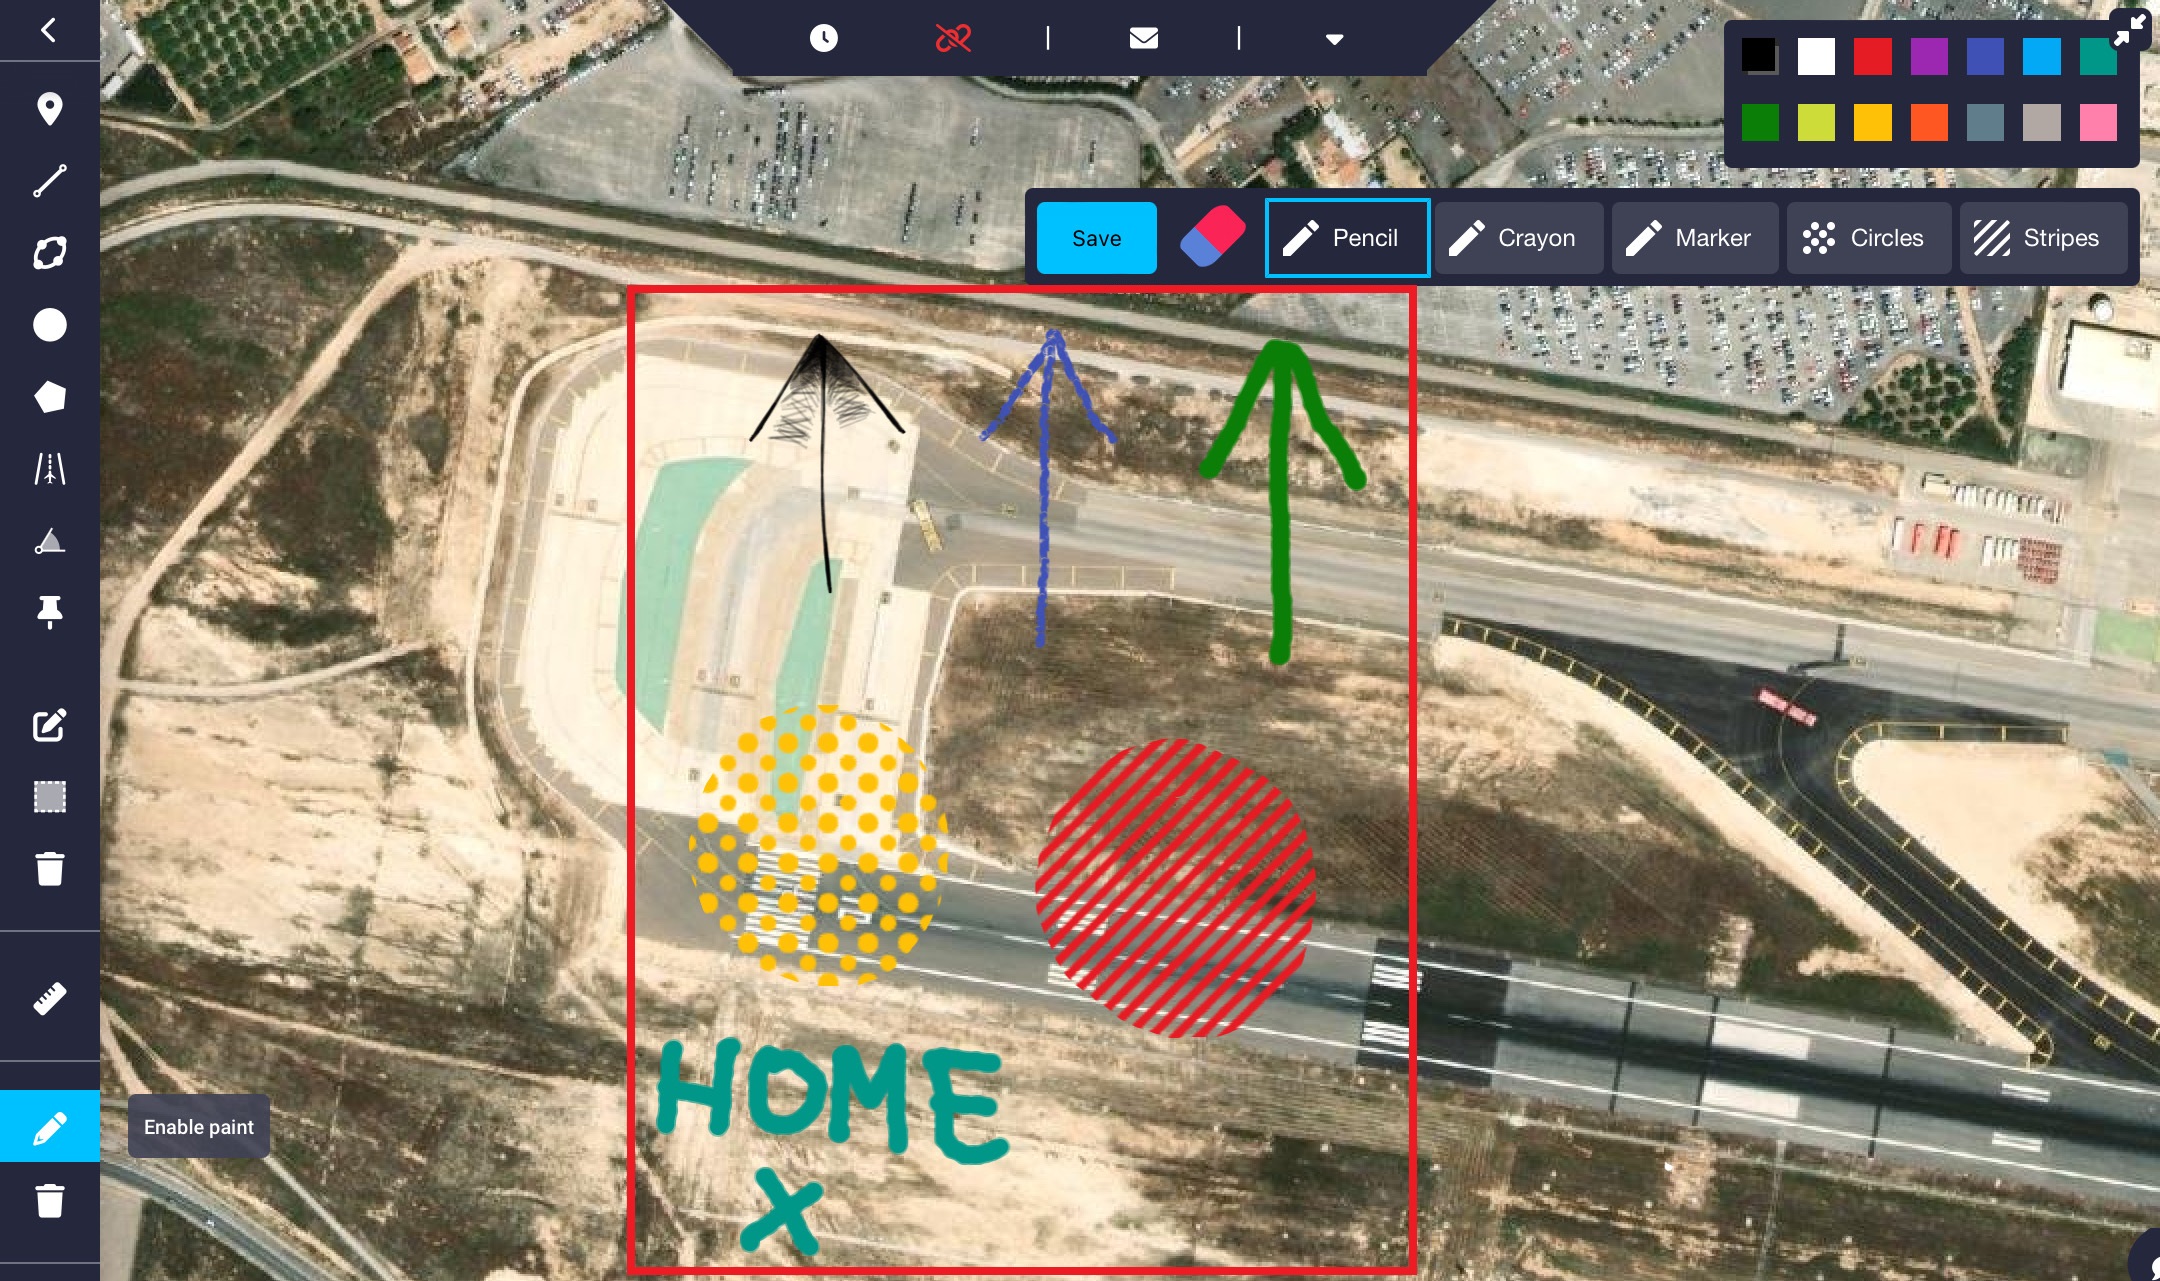
Paint examples
In addition, all notes made can be erased with an eraser, if they are not already saved, by clicking on the ‘eraser option’ in the toolbar.
Paint erased
Note
To save all the notes made here, it is important to click on the ‘Save’ button, otherwise they will not be saved. If they are not saved, the following message will appear when exiting the ‘Paint’ option:
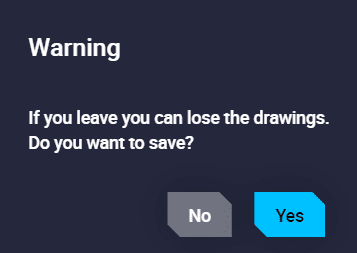
Warning paint not saved
 Delete paint
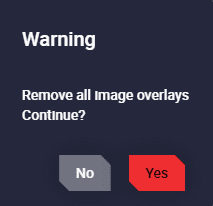
All paints will be removed. The following confirmation pop-up window will appear:
Remove paint
Offline
This option is designed for when users operate offline, i.e. they do not have internet access to download map information. For this reason, the map tiles of the area to work on can be pre-downloaded.
The following options are available in this section:
 Show downloaded tiles
This option works differently when working online and offline:
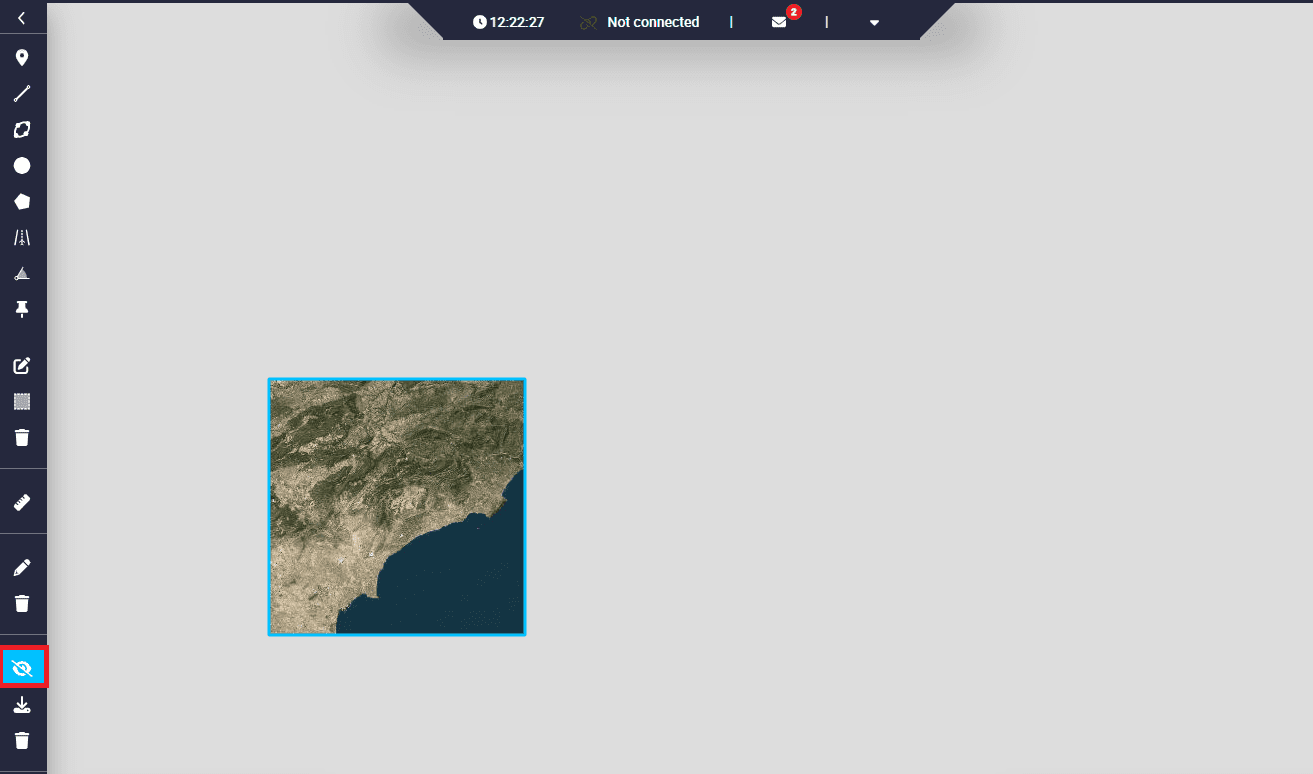
Online: If the user has already downloaded tiles, when clicking on this icon, the area with the downloaded tiles will be marked with a blue rectangle:

Show tiles
If the user has not downloaded any tiles, the following message will appear when clicking here:

Show tiles - don’t have downloaded
Offline: If the user has already downloaded tiles, when clicking on this icon, these tiles will always appear:
Show tiles
If the user has not downloaded any tiles, they may appear because they are stored in the Veronte Ops cache, however, it is not certain that this will always happen. Therefore, it is recommended to have the map tiles downloaded when working offline.
 Save tiles
The tiles that the user is viewing will be downloaded. An example is shown below:
Click on this icon when the user is zooming in on the tiles in the desired area to download:
Warning
As each zoom level in Veronte Ops counts as an independent map tile. When downloading map information, make sure that all relevant zoom levels are downloaded.
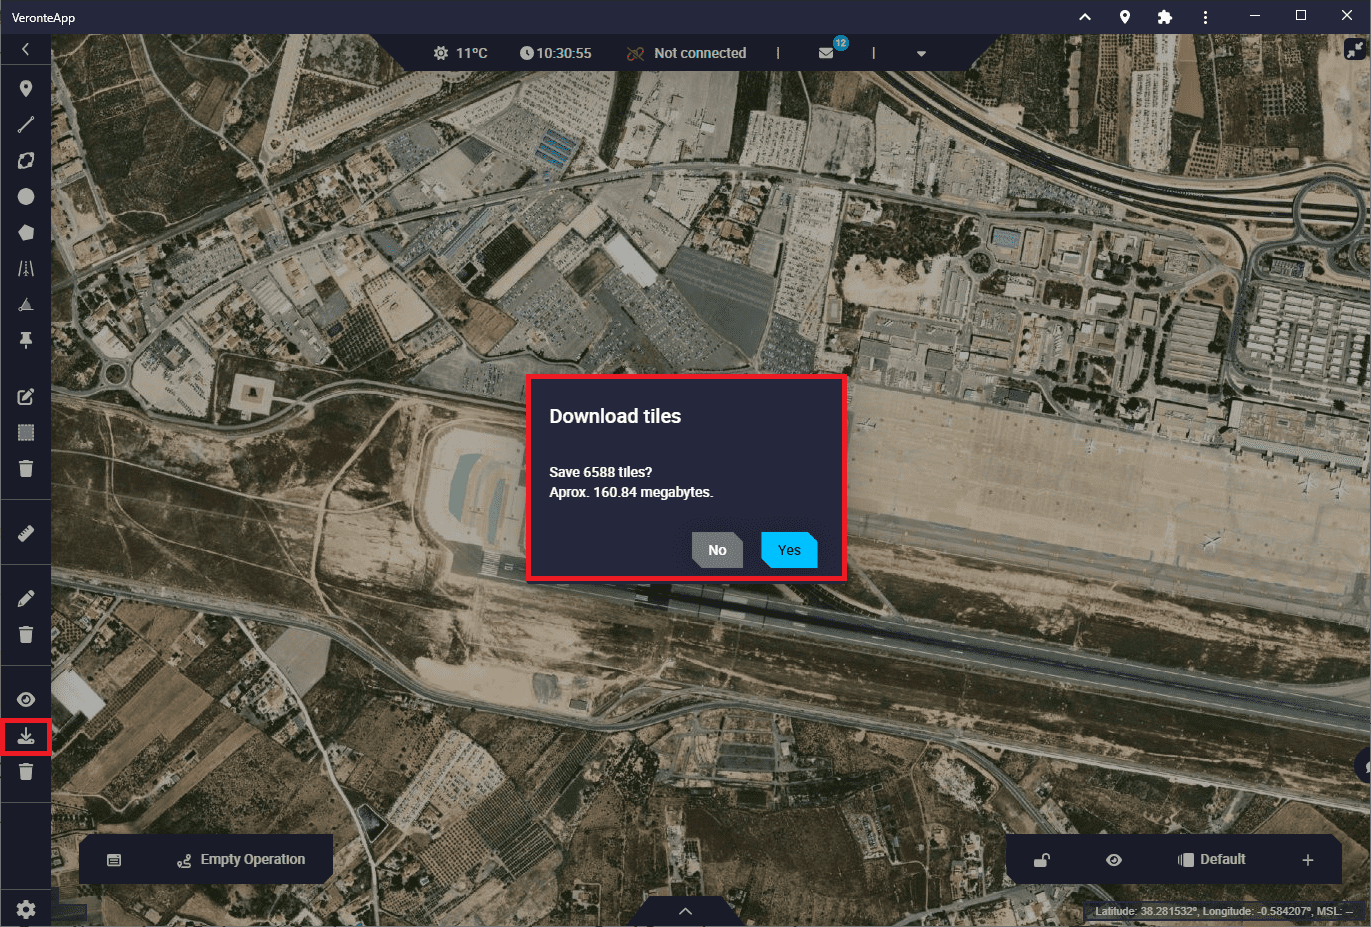
Download tiles
The tile download process will then begin:

Downloading tiles
Finally, by clicking on the above option, users can view the downloaded map tiles of the desired area.
If there is no significant zoom, Veronte Ops will not download these files because there are too many of them. The following message will appear:
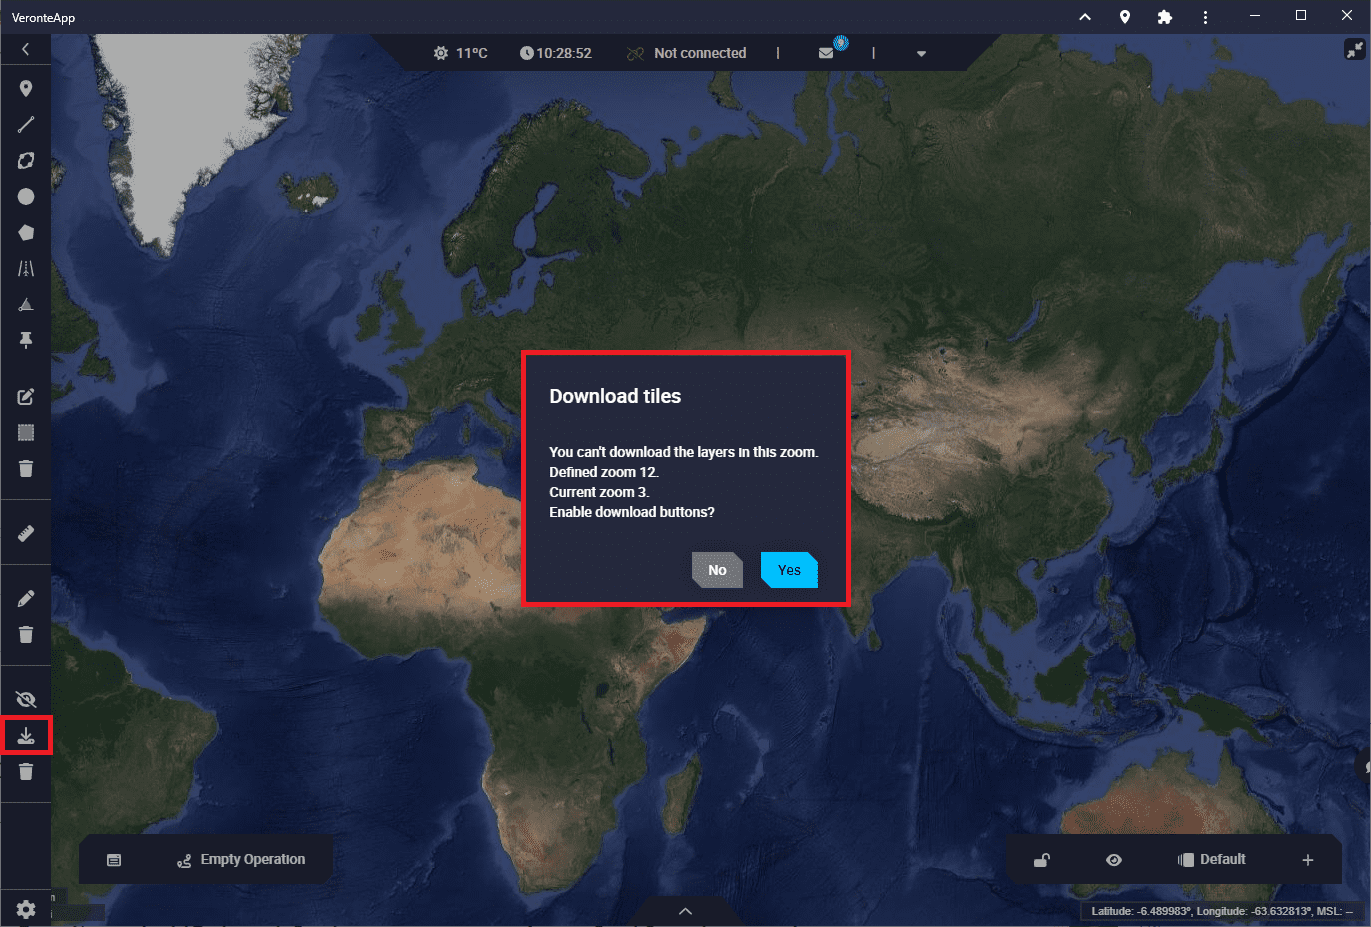
Not possible to download tiles
Remove tiles
Clicking on this icon will delete all tiles downloaded tiles. The following messages will appear:

Remove tiles

Remove tiles successfully
 Settings
By clicking here, a settings menu window will appear:
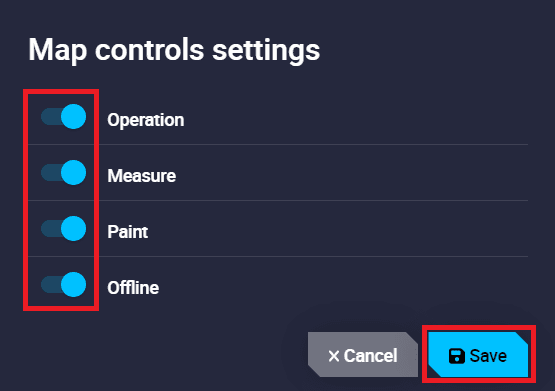
Settings menu
Here, the user can choose, by enabling or disabling them, the group of functionalities to be displayed in the mission toolbar.
To save the changes made, click on the ‘Save’ button.
Each group of funcionalities has been described in the previous sections.