Operation
Veronte VSA can be used for three different applications:
Visualize an aircraft in real time with a real autopilot.
Display previous recorded missions.
Simulate with SIL visualizing an aircraft.
The following steps explain how to configure VSA to visualize the aircraft in a simulator.
Establish the connection through Veronte Link.
Note
This first step varies depending on the application. Nonetheless, the rest of the steps to operate Veronte VSA are the same for all applications.
In case of using a real autopilot:
Connect it to the computer, in case of any doubt, read the Software Installation section of 1x Hardware Manual
Then, establish communication between the autopilot and the computer using Veronte Link as detailed in the Serial connection - Integration examples section of the Veronte Link user manual.
In addition, it has to be configured reading 1x navigation variables subsection of this manual.
In case of displaying previous recorded missions, users have to play the desired session from Veronte Link sessions, as the recorded mission information is stored and managed as such.
For this application, start playing the desired session before proceeding to step 2. To know more about these sessions, read the Sessions - Operation section of Veronte Link manual.
In case of using SIL, read the Configuration section of SIL Simulator manual.
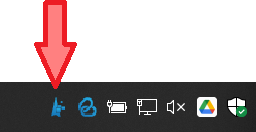
Open VSA and wait a few seconds until the autopilot (real or simulated) is detected.
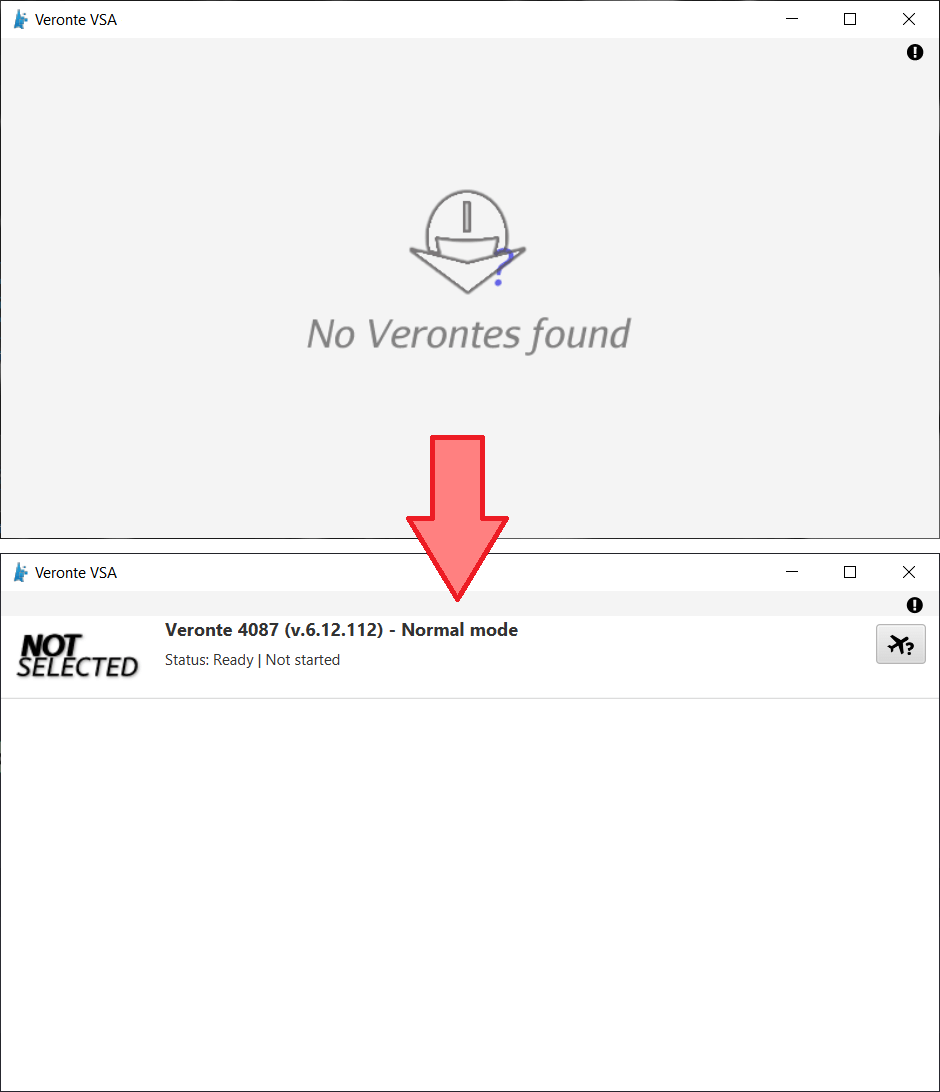
VSA detection of connected autopilot
Once the autopilot has been detected, VSA will display the following menu:
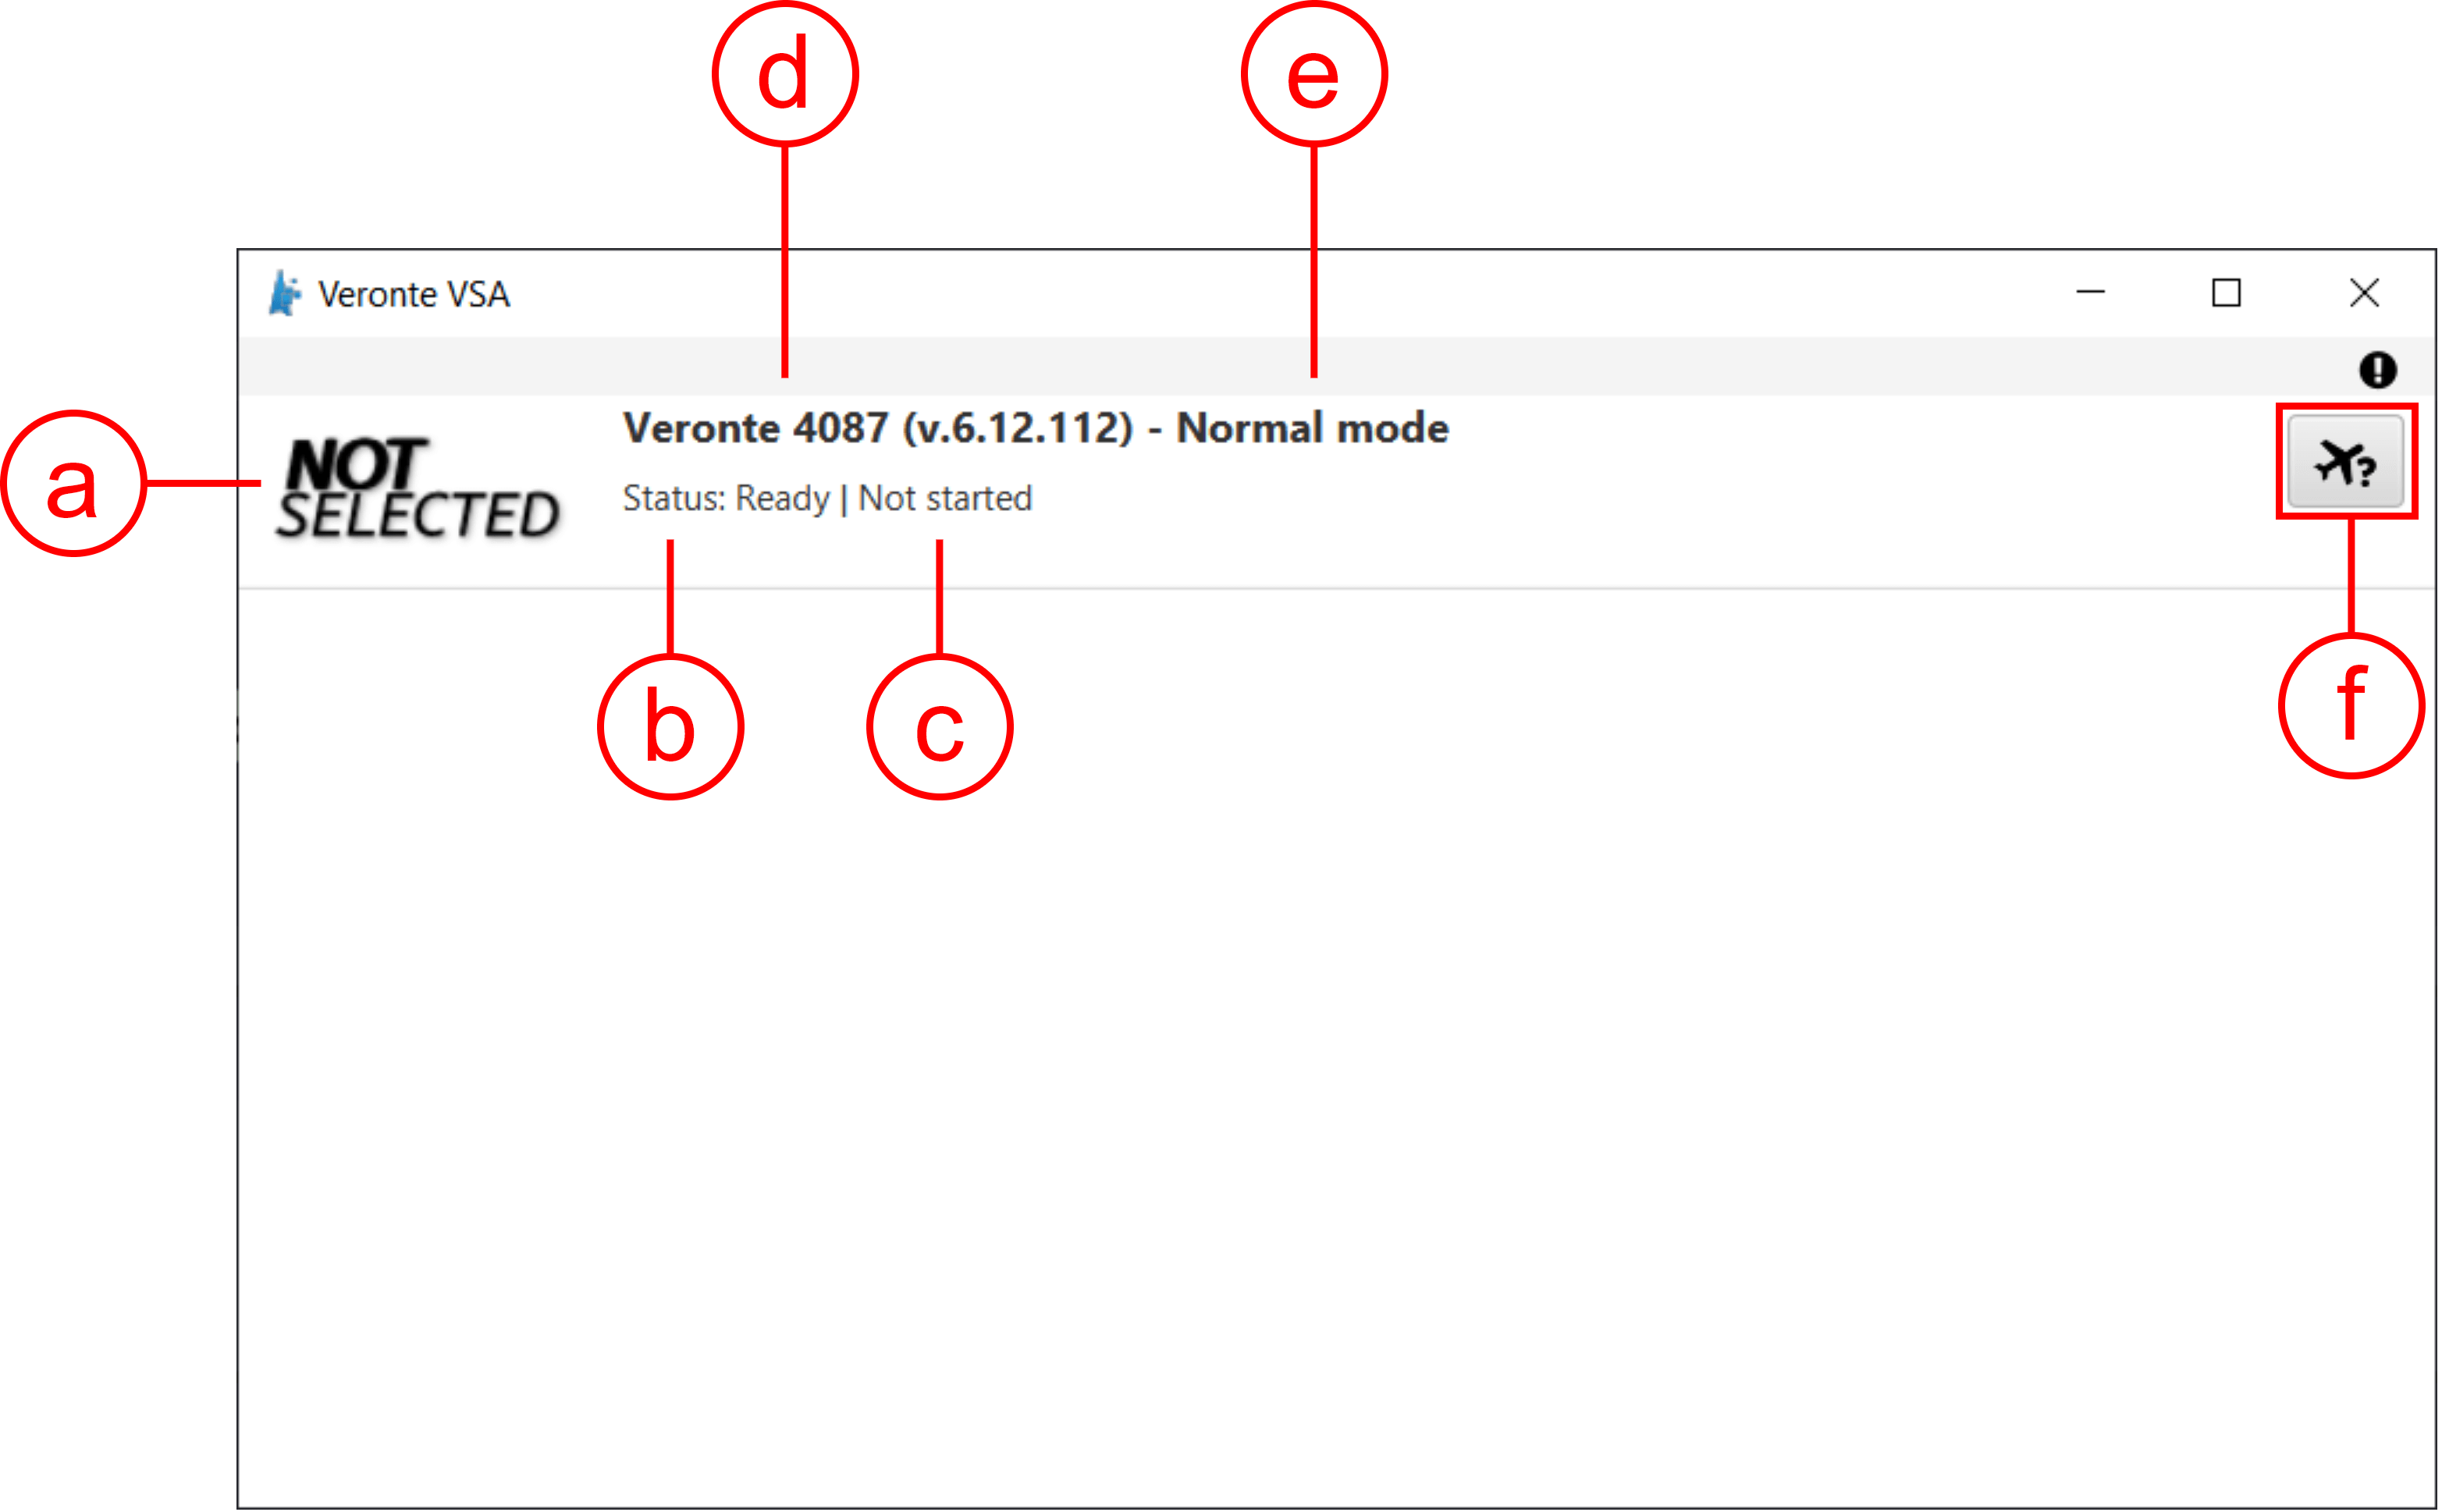
Veronte VSA - Main menu
a. Simulator icon: The icon of the selected simulator is displayed.
b. Status of the autopilot: Ready, Running, Failed load conf, Maintenance mode or Offline.
Note
In case of connecting an Autopilot 4x instead of a 1x, the displayed ‘Status’ of the 4x will correspond to the status of the selected UAV. In addition, the index of the 1x selected by the arbiter with its unit name will also be displayed.
c. Status of the simulation:
Not started.
Once started, simulation frequency parameters are displayed.
To Simulator: Frequency of data transmission to the external simulator selected.
To Platform: Frequency of data transmission to the autopilot.
d. Autopilot ID and firmware version
Note
In case of connecting an Autopilot 4x instead of a 1x, this will be replaced by the Autopilot 4x name as “Veronte Group (4x)” and its ID.
e. Autopilot mode
Important
The autopilot must be in Normal Mode to start the simulation. Refer to Unable to start VSA - Troubleshooting section of this manual for further details.
f. Select simulator button.
Choose a simulator.
Click on
 to choose a simulator.
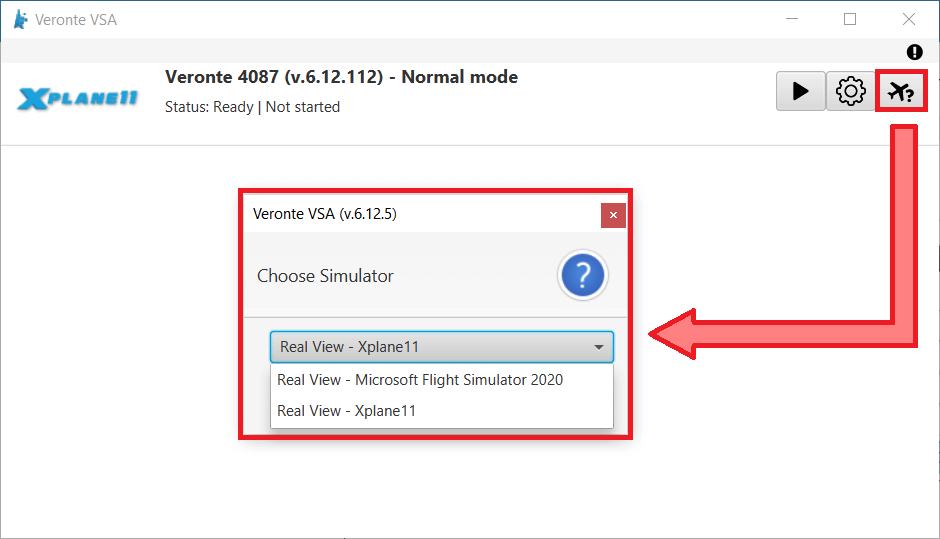
Configure VSA simulation parameters (optional).
Default configuration parameters are recommended. To change them, click on
 .
.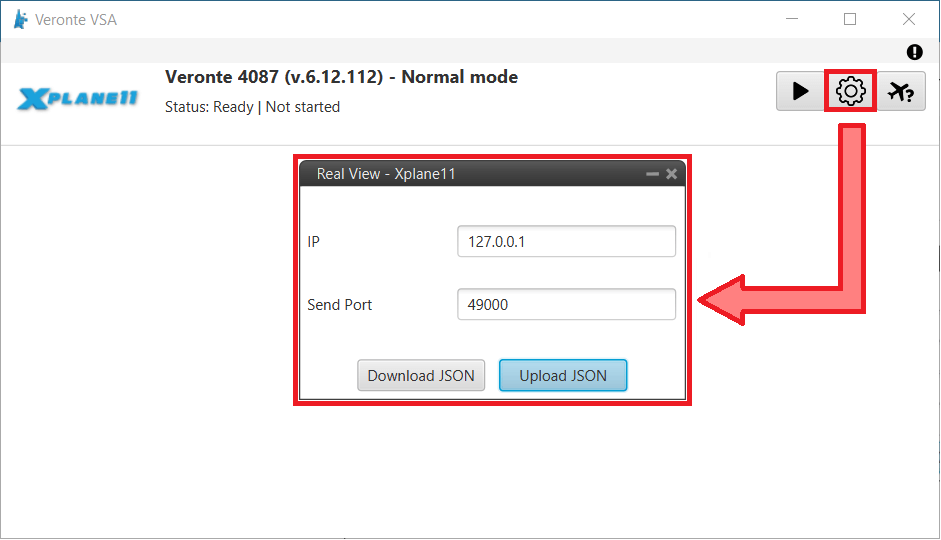
Configure the simulation parameters in the selected simulator software.
The selected simulator must be configured with the same IP and port as VSA.
Run the selected simulator software.
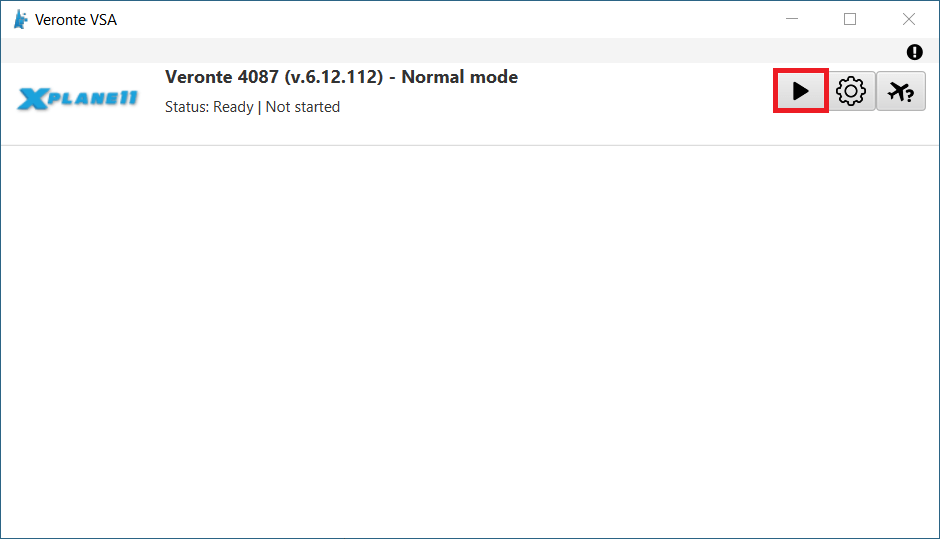
Start VSA clicking on
 .
.