Import Configurations
In this section is explained the process to load configuration files into a Veronte Unit.
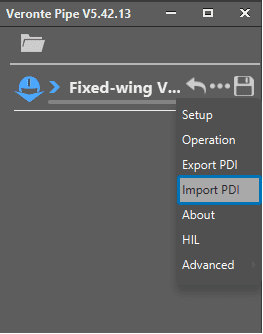
Import Configuration
First, power the autopilot and connect it to Veronte Pipe. In the side panel, click on ![]() and then select Import PDI. The Import Configuration option displays a window used to select the file to be uploaded.
and then select Import PDI. The Import Configuration option displays a window used to select the file to be uploaded.
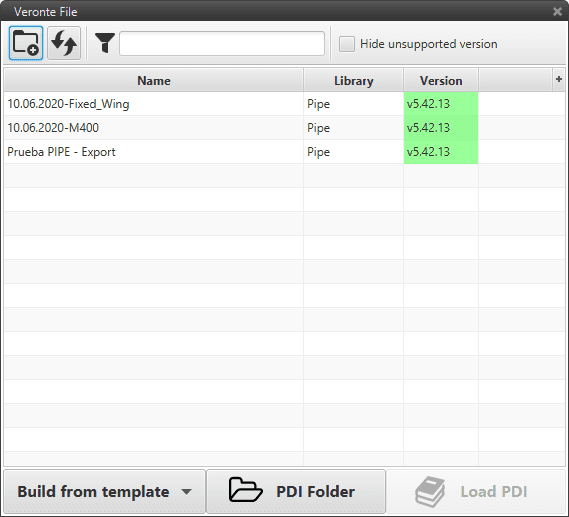
Import Configuration File Menu
There are three options within this window to select a configuration file:
Build from template: By selecting this option the user can import a configuration file from a set of default configurations that can be used as a starting point. There are templates for multicopters, fixed wings, Ground station among others.
PDI folder: By selecting PDI The user will be able to select the locations of each folder and load them.
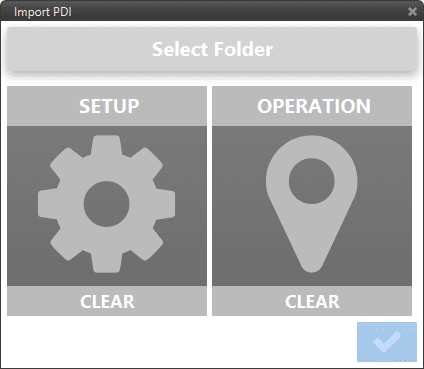
Import a Configuration File
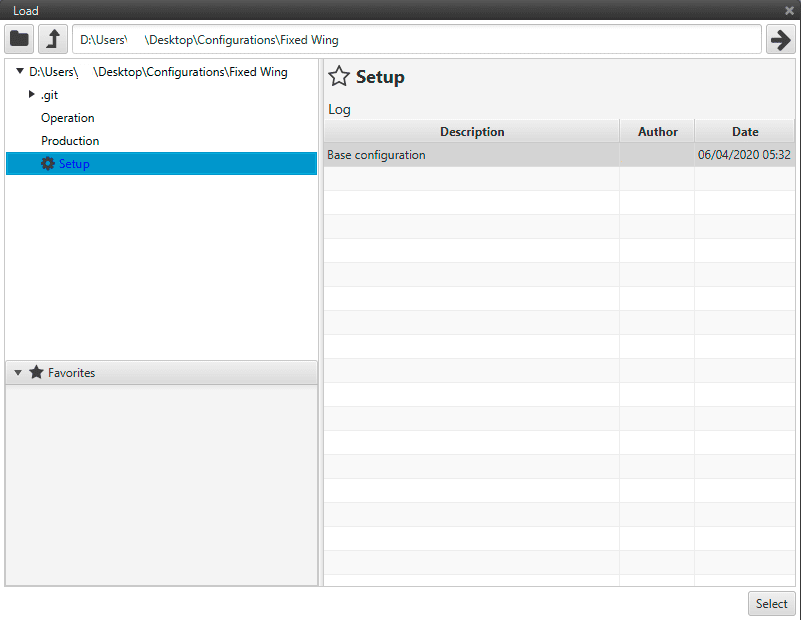
Import a Configuration File
Load PDI: Loads a configuration from the library.
In order to include a folder as a part of the library select Manage Libraries icon ![]() . By including a folder to the library, any configuration files in that folder will be displayed.
. By including a folder to the library, any configuration files in that folder will be displayed.
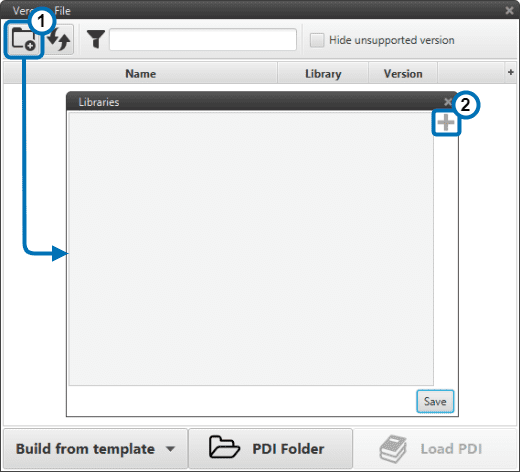
Library Management Menu
Warning
Each configuration in the library has a Version. It is only possible to load configuration files whose version is the same or lower than the one of the software embedded on the autopilot. As shown in the pictures above, colours are the way to show the compatibility: Green means fully compatible, Yellow means migration/PN adaptation and Red means not compatible.
Warning
Press the Save button in the right Side Panel, ![]() , to load the configuration on the autopilot. Otherwise, it will be only loaded to Pipe software.
, to load the configuration on the autopilot. Otherwise, it will be only loaded to Pipe software.
Check PDI
After Importing PDI files or migrating a configuration to a newer version, Veronte might enter in “SD loaded with error” state, which is a similar state to Maintenance Mode. When clicking on the unit affected it can be seen the following window appearing.

PDI Error Window
The options provided to the user are “Check PDI”, which generates an error display window, “Change Setup”, explained below, “Try load PDI” and “Retry”. When selecting “Check PDI”, the system will try to report the errors. It may or may not find them:
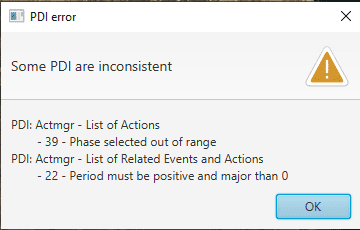
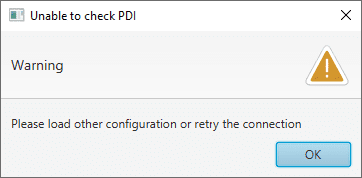
Check PDI windows
Now the user must find and correct the errors shown (or not) in the list displayed. In order to do that, click on “Try load PDI” in the PDI Error window.

Check PDI setup
In this particular example, one of the errors reported was a Period in Events/Action (Automations tab) which has been disabled.
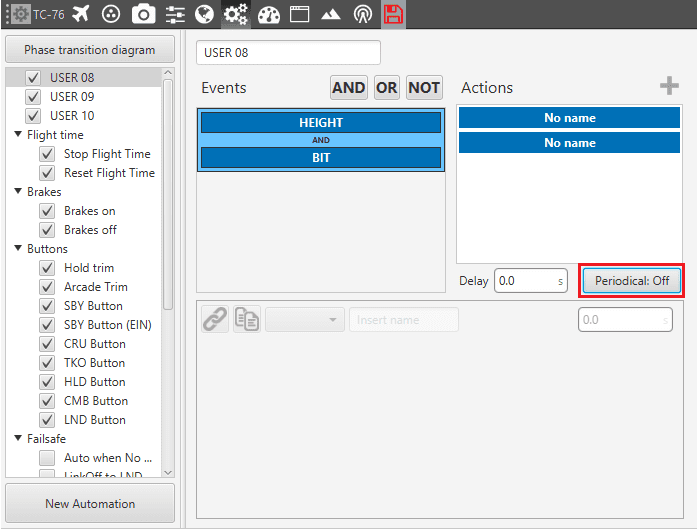
Correction done in PDI Check
Once all reported errors have been solved, press on the Red Save button on the Setup toolbar to finish the PDI Check.
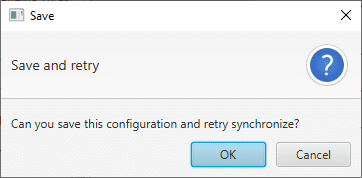
Save Setup after PDI Check
