Maintenance
Preventive Maintenance
Apart from cleaning, no extra maintenance is required to guarantee the correct operation of the Veronte MEX.
In order to clean Veronte MEX properly follow the next recommendations:
Turn off the device before cleaning.
Use a clean, soft, damp cloth to clean the unit (not for OEM version).
Do not immerse the unit in water to clean it.
Software update
In order to update a MEX unit, it is necessary to re-flash the board.
Danger
Depending on the MEX variant, flashing can be done directly by the user or not:
MEX OEM version: Users can flash the MEX unit directly.
MEX version: In order to flash the MEX unit, it is necessary to open the enclosure. However, opening the enclosure will cause the user to lose the guarantee as it will remove the guarantee sticker.
Therefore, in order to flash it and not lose the guarantee, the user must contact the support team (create a ticket in the customer’s Joint Collaboration Framework; for more information, see Tickets section of the JCF manual) to request permission to open the enclosure.
The following items will be needed to update Veronte MEX software:
JTAG Probe
Embention Flashing Tool Software. If the user does not have this tool, please contact the support team by creating a ticket in the customer’s Joint Collaboration Framework and they will share it.
For more information on accessing the release and downloading the software, read the Releases section of the JCF user manual.
Firmware update file (
.binfile): The file with the new software version (.binfile) will be shared with the customer in the Joint Collaboration Framework when it is requested.
The following steps describe the process to re-flash a MEX unit:
Connect the PC and the MEX unit via the JTAG probe:
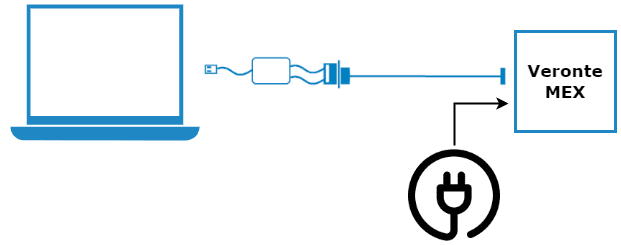
PC - MEX connection
On the MEX, connect the JTAG to the 8 pin connector on top of the board. Pin nº 1 is indicated with a white dot:
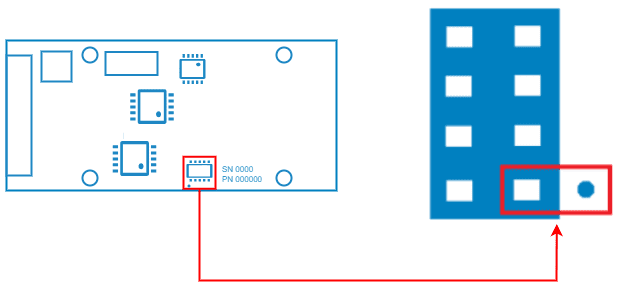
JTAG connection
Open the Flashing Tool and access it without logging in:
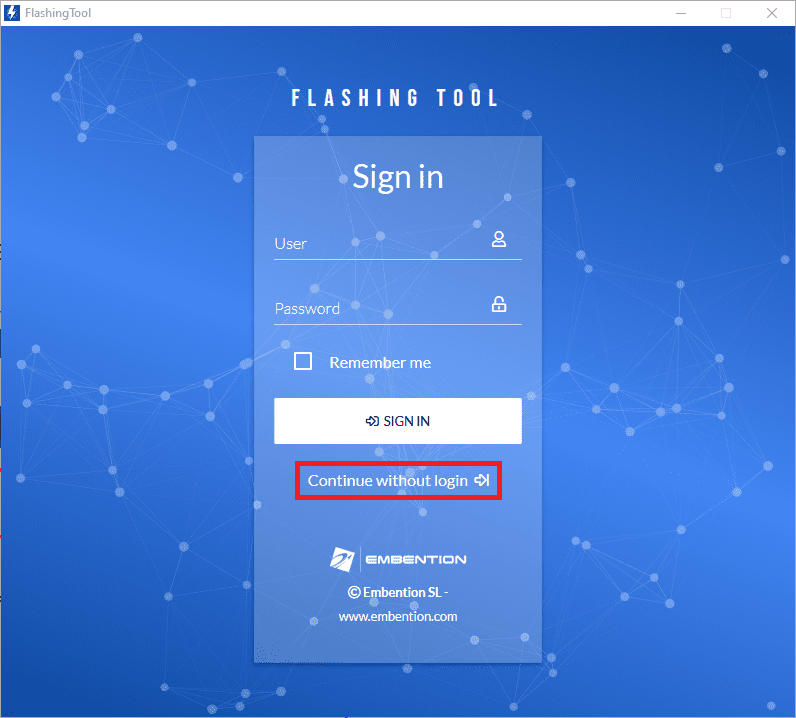
Flashing tool - Inital menu
Select the product MEX:
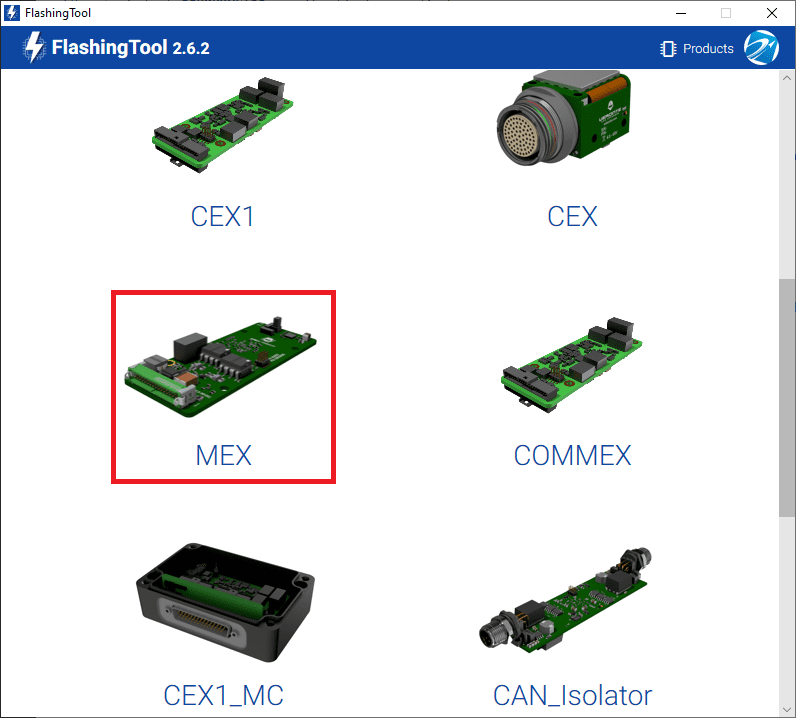
Flashing tool - Product selection
Select PRODUCT, as the flashing method:
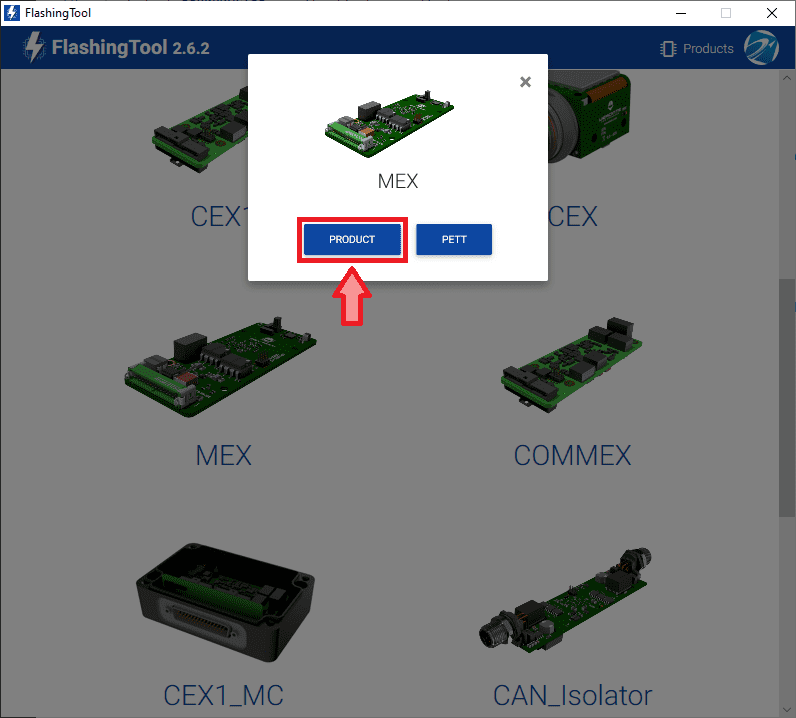
Flashing tool - Flashing method selection
Warning
If the JTAG is not connected or if the PC does not recognise it, the following message will appear after selecting PRODUCT:
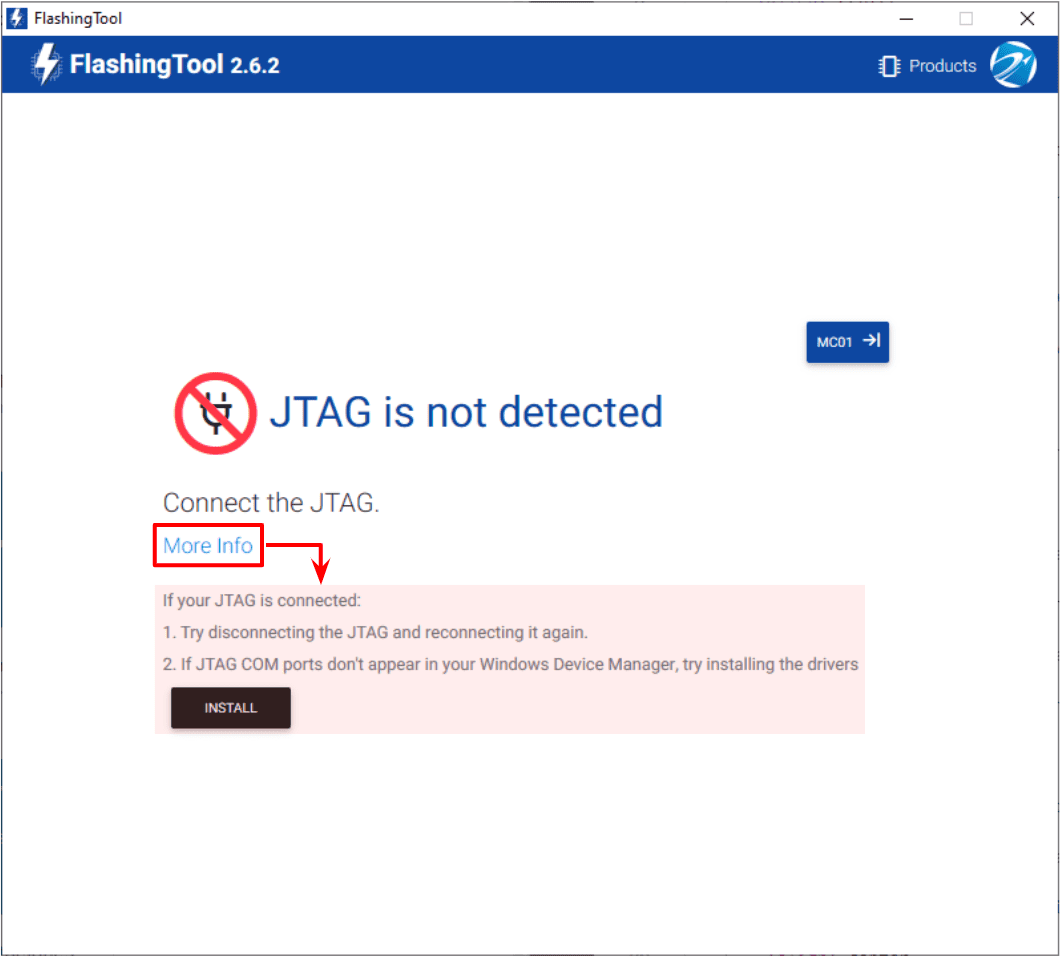
Flashing tool - JTAG not connected
Here, select the new firmware file to update the MEX (
.binfile previously downloaded from the user’s Joint Collaboration Framework) and also enter the address of the unit.Note
Address = 42000 + S/N, users can look up the MEX serial number directly in the product.
The MEX address must be in the range 43000-43999.
Then, click on ‘Flash’:
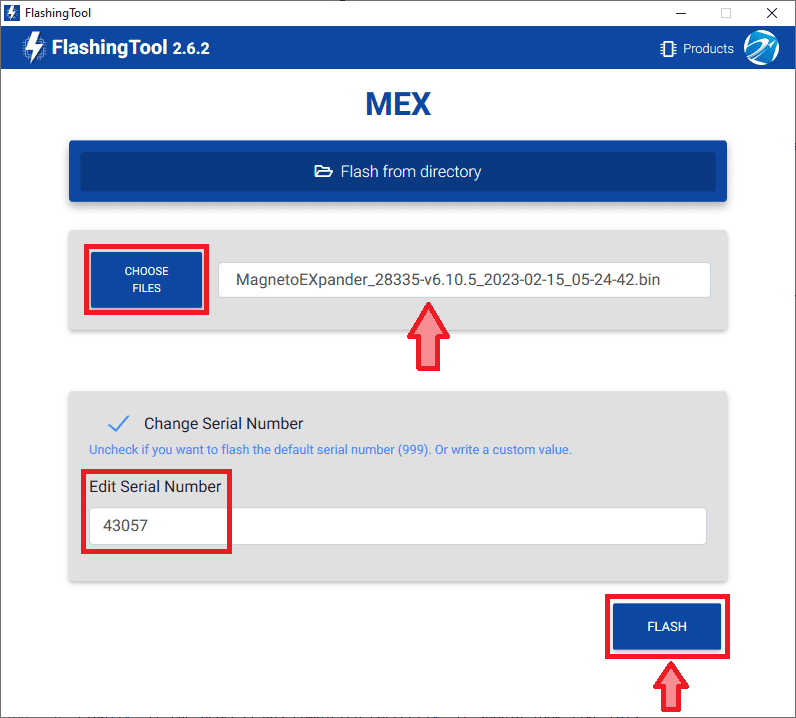
Flashing tool - File and address number
Wait until flashing is complete:
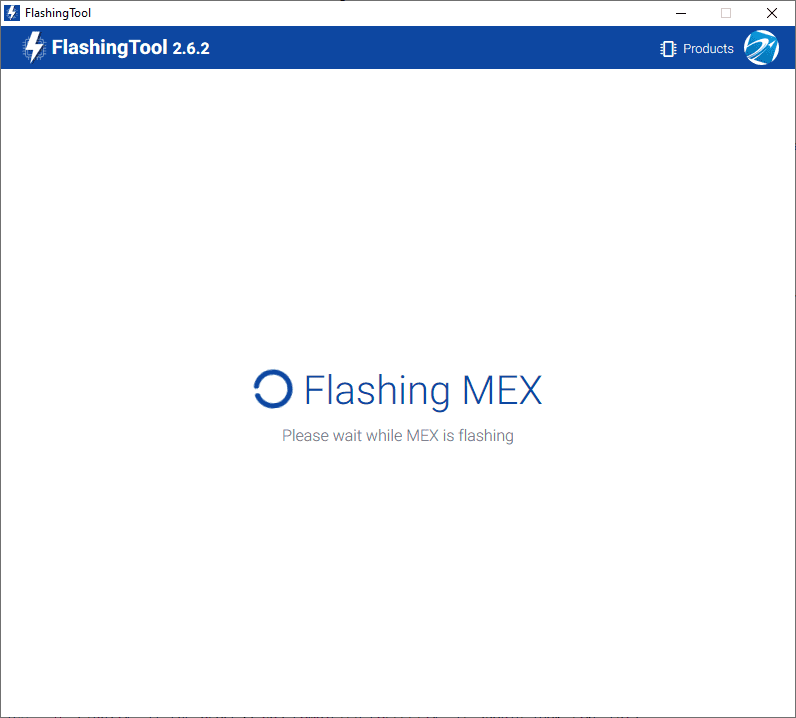
Flashing tool - Flashing process
Finally, if the process has completed correctly, it should look like this:
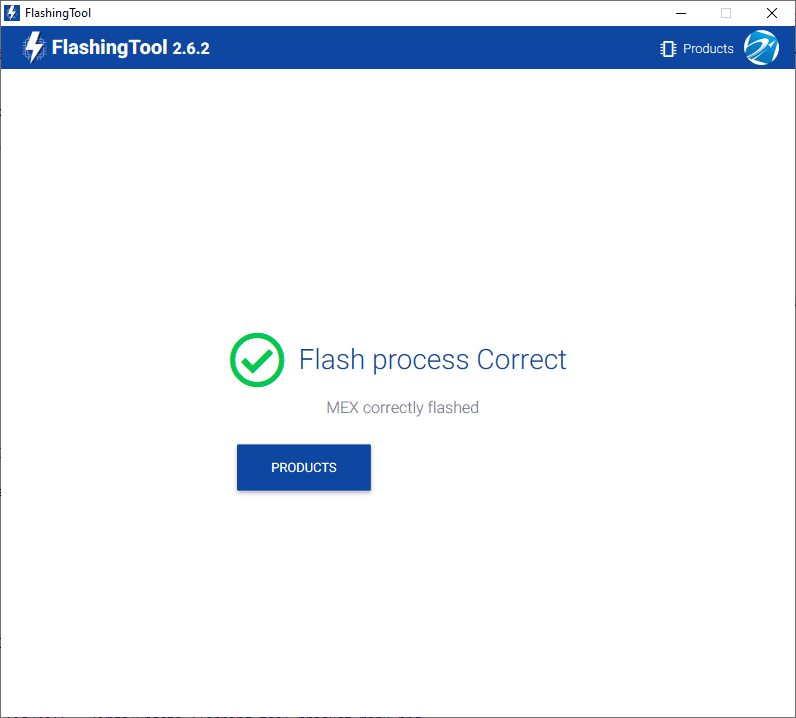
Flashing tool - Flashing process correct
However, if something has gone wrong, the following message appears:
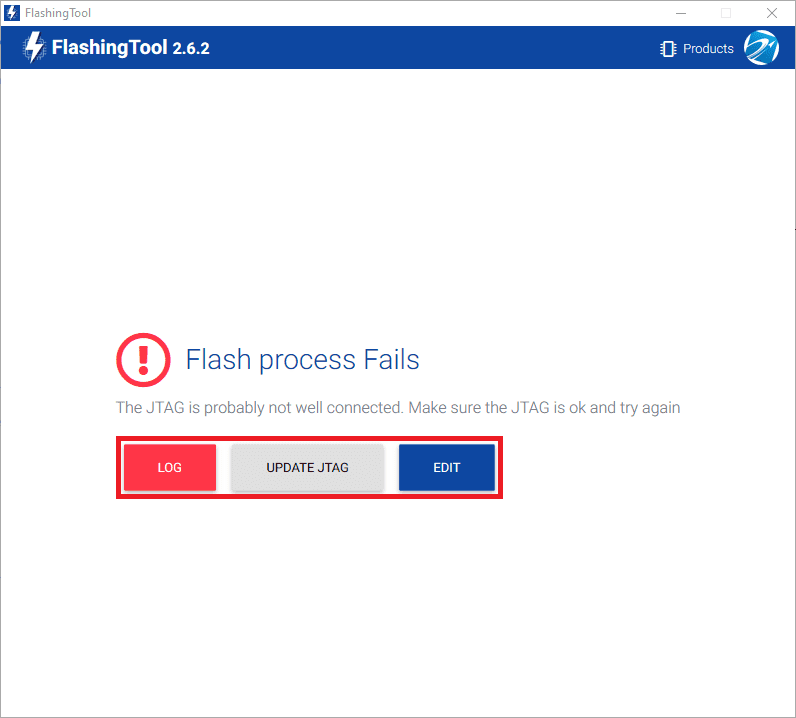
Flashing tool - Flashing process fails
Re-check the connections, reset MEX unit and try again by pressing ‘EDIT’.
If this does not solve the problem, it may be necessary to update the JTAG drivers by clicking ‘UPDATE JTAG’:
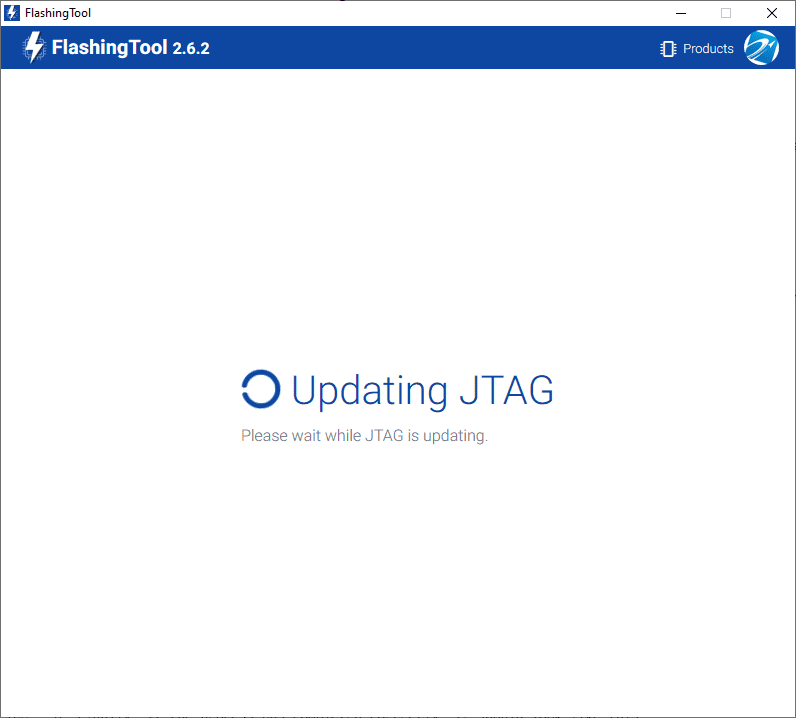
Flashing tool - Update JTAG process
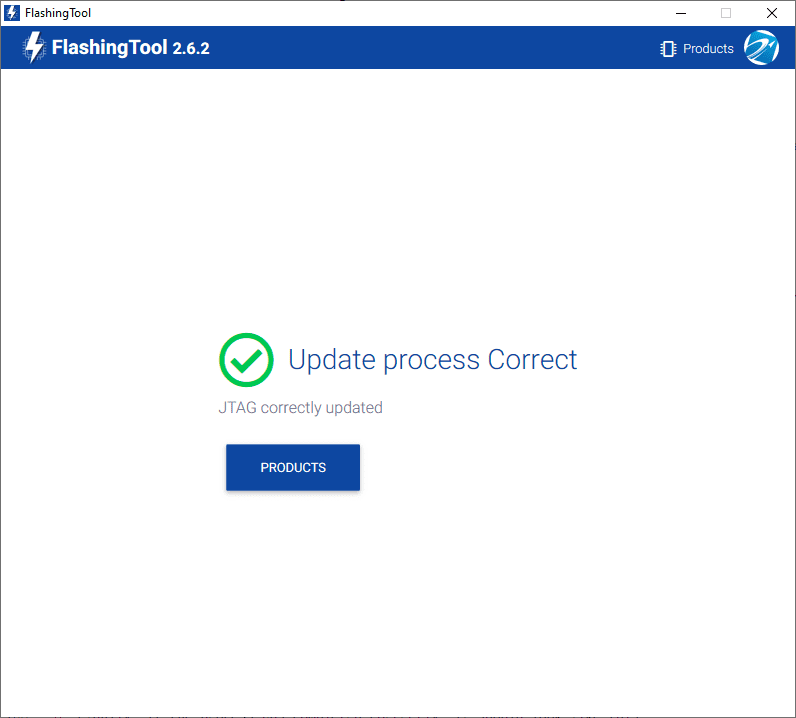
Flashing tool - Update JTAG process correct
After this, try again to flash the MEX.
If the failure window still appears, contact support@embention.com and share the log displayed by pressing ‘LOG’ with the support team:
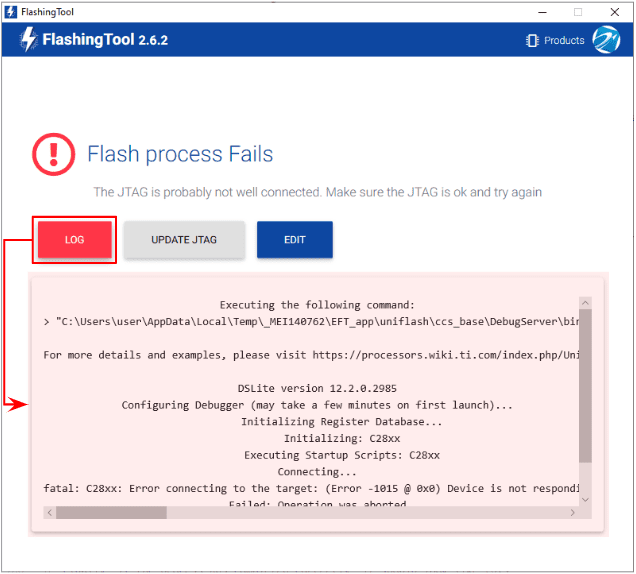
Flashing tool - Log