Troubleshooting
TCP Connection cannot be stablished
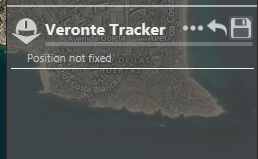
In order to correctly establish the connection with Veronte tracker throgh TCP, the deice running the Veronte Pipe software must be assigned the following IP address: 192.168.8.3. This address should be automatically assigned when connecting to Veronte Tracker network.
If this is not the case, please follow the example below in order to assign a static IP address to your device:
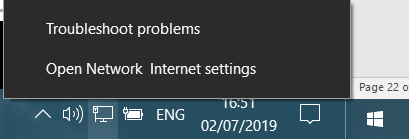
Click on ‘Open Network Internet settings’ in the dropdown menu of the Internet configuration
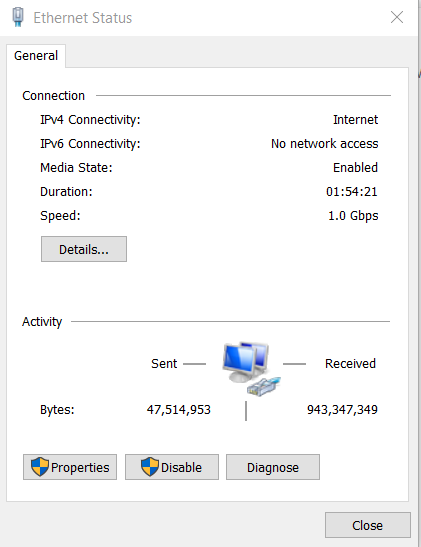
Click on ‘Change adapter options’ and select your Internet connection method by double clicking on it
Click on ‘Properties’ and select IPv4 Internet Protocol, then click on ‘Properties’
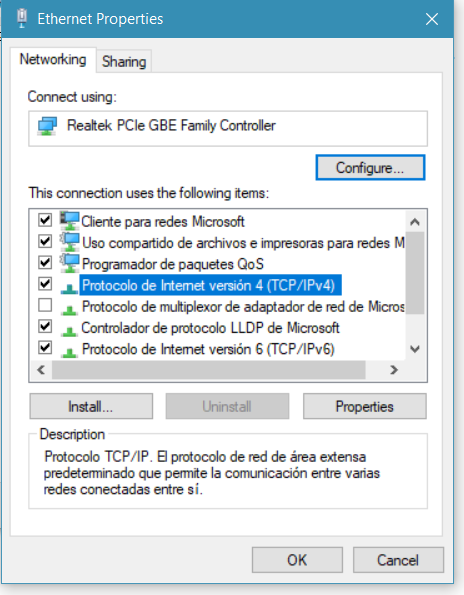
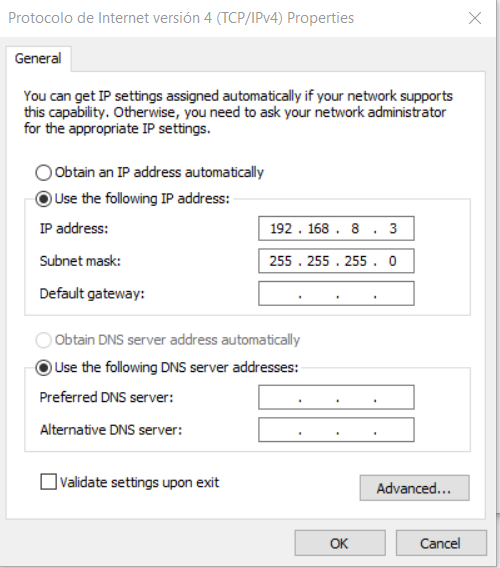
Select ‘Use the following IP address:’ and type in the ‘IP address’ tab 192.168.8.3
‘Subnet mask’ should be automatically fulfilled as observed in the following image, else manually type the same subnet mask
Click on ‘Ok’ and close the windows opened
Veronte Tracker configuration reset
In case Veronte Tracker needs to be reset to factory configuration, please follow the steps below:
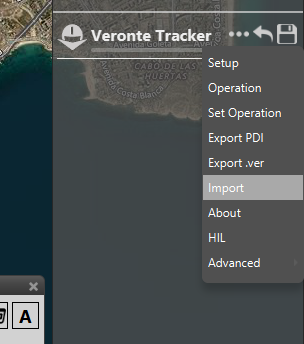
Click on ‘Import’ in the Veronte Tracker dropdown menu
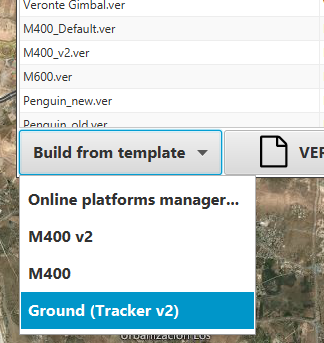
Select ‘Online platforms manager…’ inside the ‘Build from template’ dropdown menu
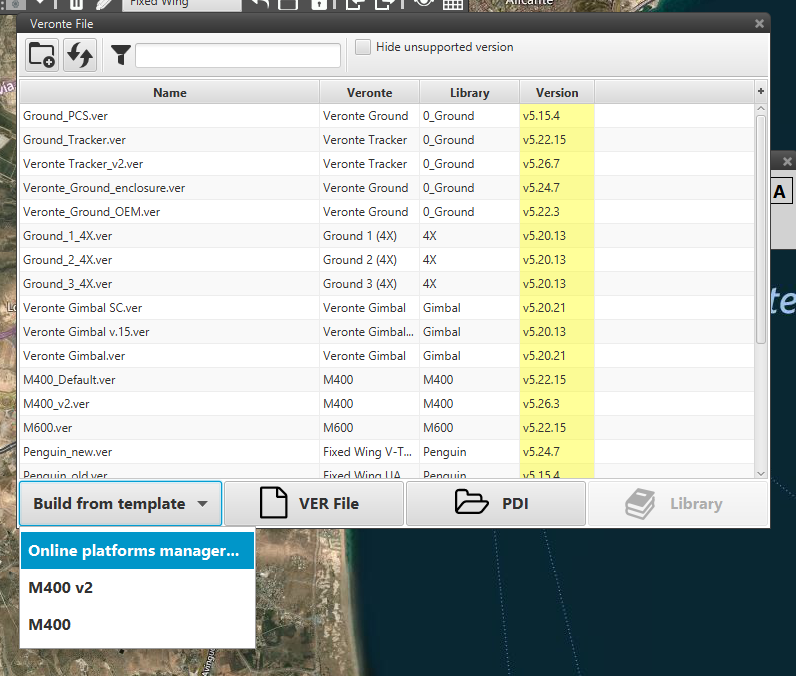
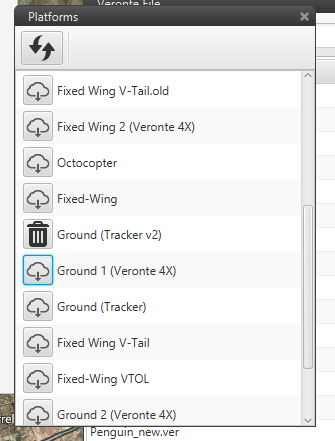
Download ‘Ground (Tracker)’ configuration by clicking on the cloud icon, a bin icon must appear after it has been downloaded
Now click again on the ‘Build from template’ dropdown menu and select ‘Ground (Tracker)’
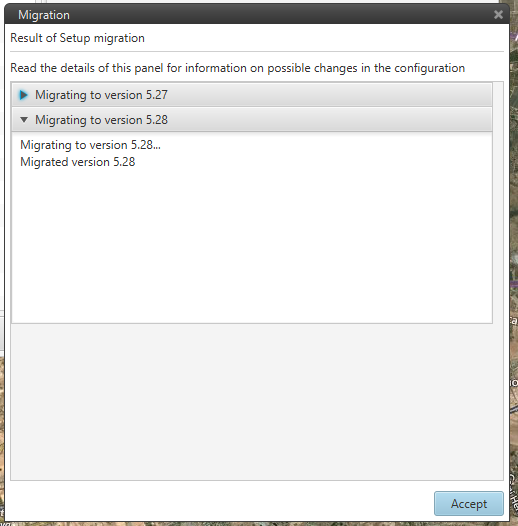
A migration window should appear, click on ‘Accept’
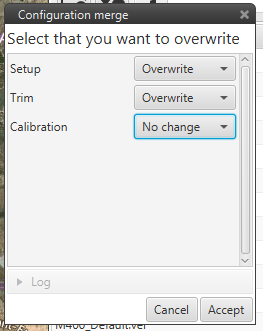
In the ‘Configuration merge’ window, select ‘No change’ in ‘Calibration’ tab
The setup bar will pop up, showing the new configuration:

Afterwards, press the save button to save the configuration