Magnetometer Calibration
Magnetometer calibration should be performed once MEX has been installed on the platform, so that the magnetic field during operation is similar to the one measured during calibration.
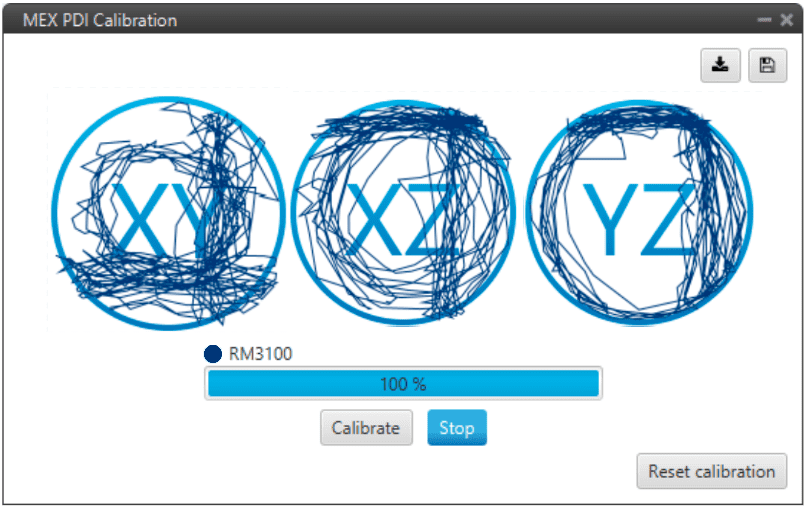
MEX PDI Calibration interface is the following:
Calibration menu
Save calibration
 : Writes the conducted calibration results in MEX.
Export calibration
 : Stores the conducted calibration results in the computer.
In order to perform the calibration process, follow the steps described below.
Click on Start to start the calibration process.
Start button
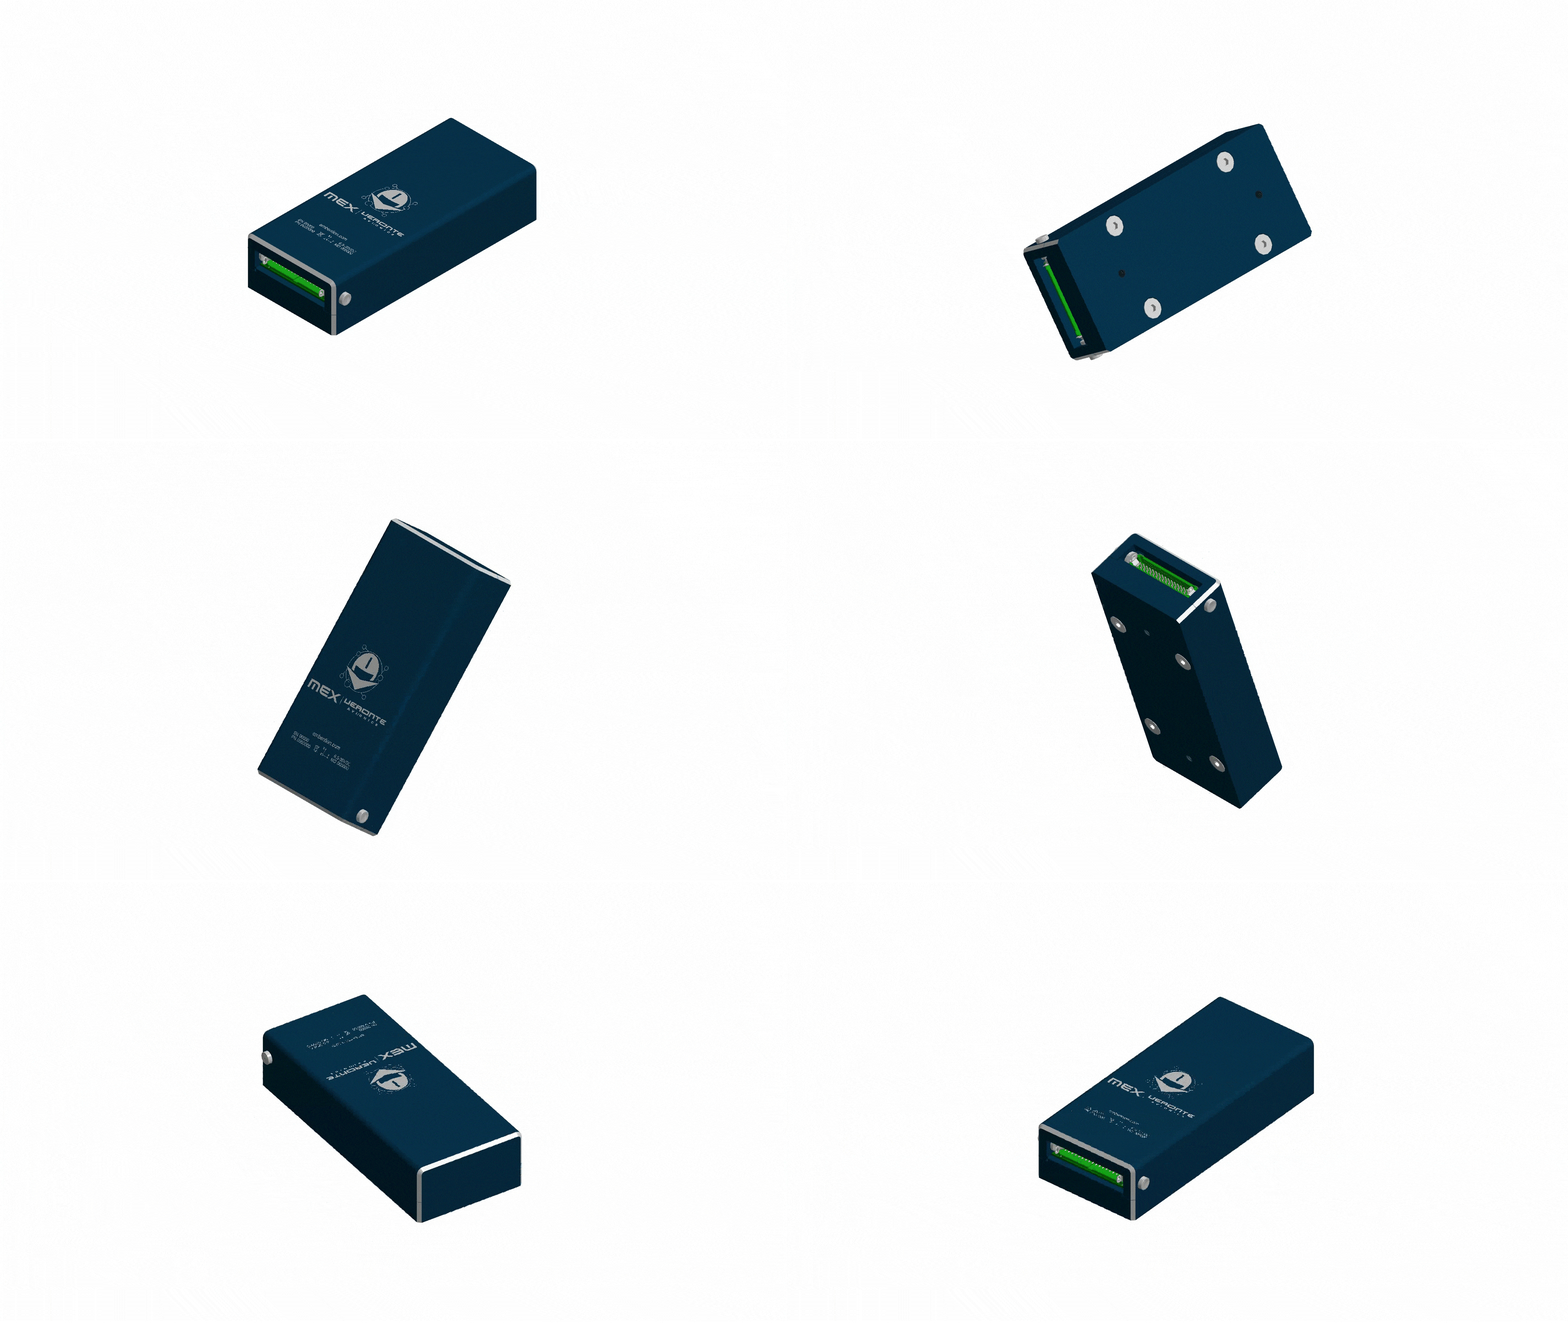
Immediately, start rotating the MEX around each axis. It is important to have approximately the same number of samples for each rotation axis, so rotate the MEX around one different axis each 33% (one rotation from 0 to 33%, another different from 33 to 66 and the last remaining from 66 to 100%).
Note
The order in which the user rotates the MEX about each of the axes does not affect the calibration, this is just an example of how to do it.


Rotation around each axis
The progress bar will increase according to the number of samples measured and the samples will be drawn on each circle (one circle for each rotation plane).
Calibration process
Note
If the user wishes to interrupt the calibration, simply click on the ‘Stop’ button.
Once 3 circles have been drawn on the screen and the progress bar reaches the 100%, the calibration process is complete. The following image shows an example of the calibration:

Calibration process finished
Then press the ‘Calibrate’ button to save the calibration. The following window will pop up:
Saved Calibration panel
Then, a colored percentage will indicate the calibration measurements quality:
Red (0-39%): repeating calibration is recommended.
Orange (40-79%): acceptable.
Green (80-100%): optimal.
Acceptable calibration example
Optimal calibration example
If the calibration is good enough, click on  to save the configuration in MEX.
On the other hand, if the calibration is not satisfying, click on Reset Calibration to calibrate again.
Important
Reset Calibration will delete the current calibration in the connected MEX.
