Operation
Once the installation is finished, open Veronte Updater and the following main menu will appear:
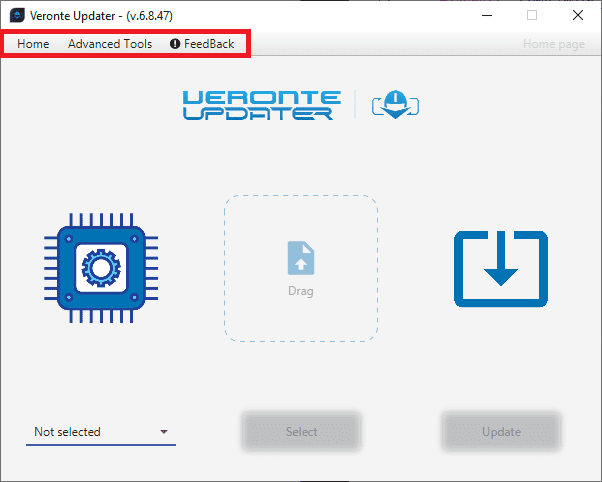
Veronte Updater - Main menu
Users may notice that there are some tabs at the top of the menu:
Home: This is the main tab, where the whole update process takes place.
Advanced Tools: Clicking on it displays a drop-down menu with several options that can be carried out on the connected device: File system, Upload files, Flash tool and Flash Remode ID.
For more information, refer to Advanced tools section.
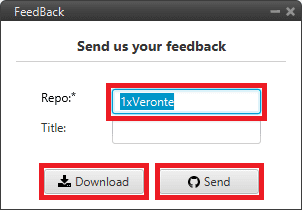
Feedback: Users can report a problem they have encountered by creating an issue in their own ‘Joint Collaboration Framework’. The ‘Download’ button downloads a zipped folder with the current device configuration and more information needed for Embention to resolve the issue. It is advisable to attach this folder when creating the issue.
Note
The user’s ‘Joint Collaboration Framework’ is simply a own Github repository for each customer.
If the user has any questions about this Joint Collaboration Framework, please see the Joint Collaboration Framework user manual.
Feedback
Update process
Follow the steps below to carry out the upgrade process of a Veronte Autopilot 1x:
Important
Since the most frequently updated device is Veronte Autopilot 1x, this user manual uses this device as an example. However, all other devices require the same procedure.
Steps marked with
 are not necessary if the upgrade version does not change the first two numbers (major and minor).
For example, they are not required from 6.8.116 to 6.8.126 but they are necessary from 6.4.90 to 6.8.126.
Connect the device (to be updated) to a computer with Veronte Link.
Then, open Veronte Updater and select the connected device in the marked area:
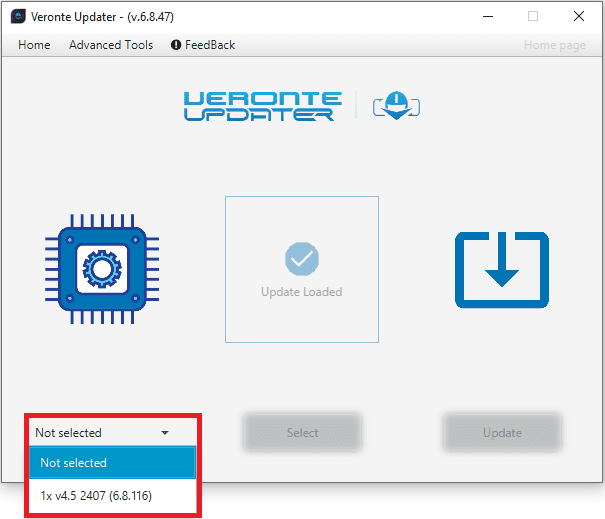
Selecting connected device
Load the .update file.
There are two ways to do this, dragging the file to the Drag area or by using the Select button.
The latter option will open the following browser to select the .update file stored in the user’s local storage:

Loading file
Once the .update file is loaded, click on Update to send the configuracion to the device.
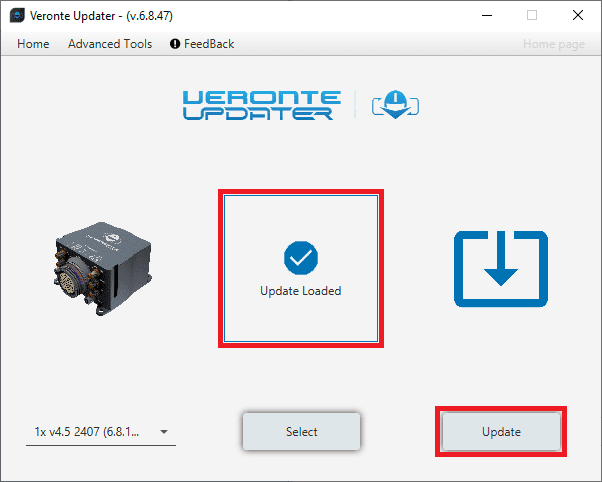
Update loaded
- If the device is a Veronte Autopilot 1x with an SD 8 GB and the previous software version is 6.4 or lower, the following window will pop up:
Important
If the Autopilot 1x is intended to be simulated, this warning can be ignored.
However, if the autopilot is to be used for real flights, please send it to Embention, so that the SD card can be updated.
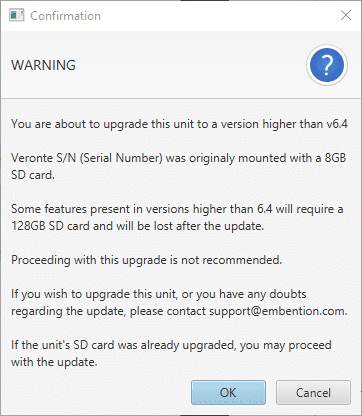
SD warning message
- The following message will then be displayed, as updating a device will format it and a backup is the only way to recover previous configuration.
This configuration file will be needed later.
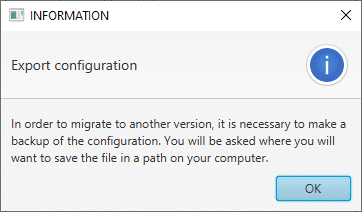
Export configuration message
- Choose the folder where the backup will be stored as a .ver file:
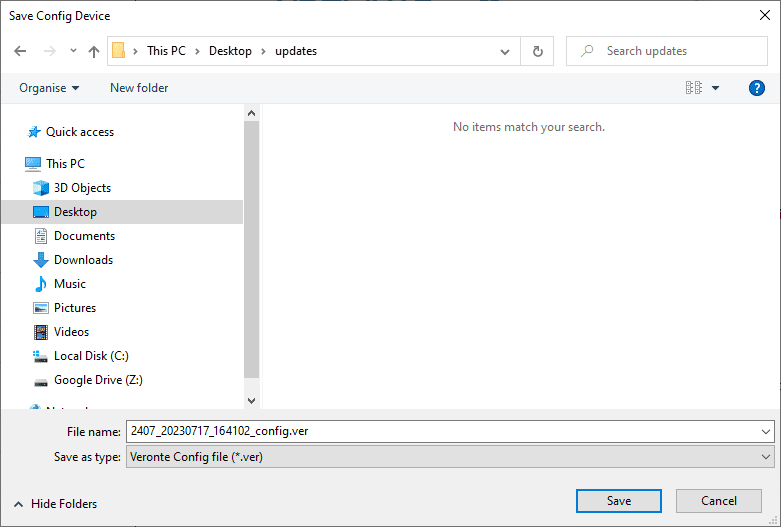
Save .ver file
The update process will start, the following windows will show the progress:
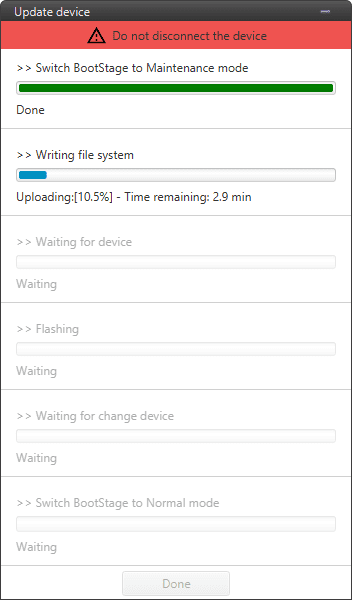
Update device process
When finished, click on Done:

Update device process finished
- Finally, upload the .ver file obtained in step 6.
Use the PDI Builder software for the updated device, in this case, the 1x PDI Builder.
Open the app, select the unit and click Upload PDI.
Note
During the update the device has been formatted and consequently the 1x autopilot configuration has been deleted. Therefore Veronte Link will show it as Loaded with errors and CFG: Failed load config.

Veronte Link - Loaded with errors
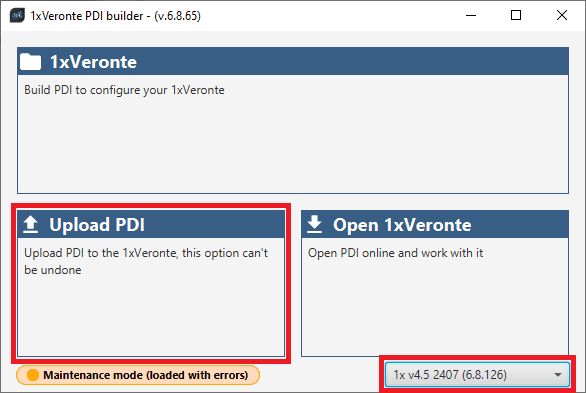
1x PDI Builder - Upload PDI
- Select the .ver file and click open to load it into Autopilot 1x.

1x PDI Builder - Select .ver file
Autopilot 1x should then switch to Normal mode and Ready status:
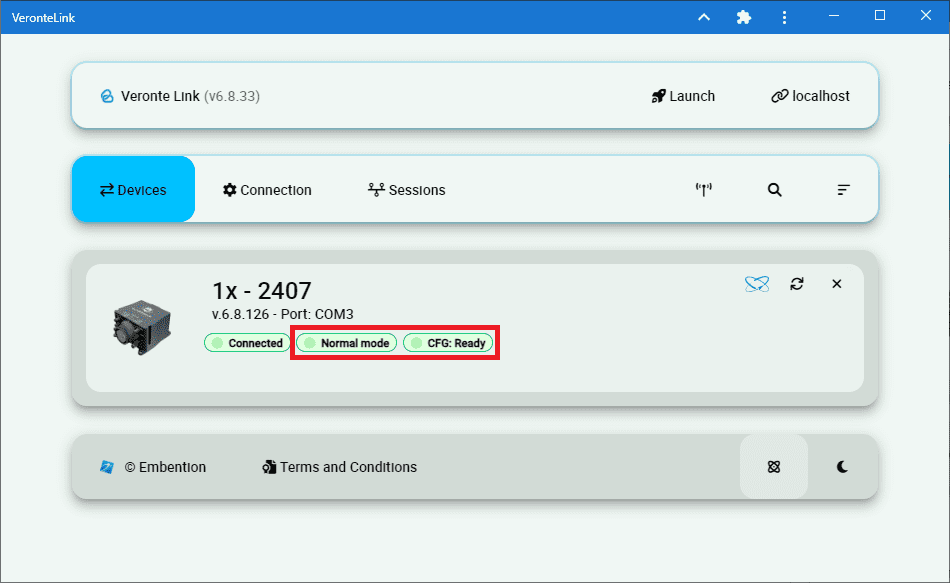
Veronte Link - Normal mode and Ready