Advanced Tools
Together, the processes listed under the Advanced Tools tab, involve the entire update process described above, except for the Flash Remote ID which is not part of the upgrade process.
In other words, this allows the user to submit the device to only one of the processes that is carried out during the entire update process.
These are detailed below:
File system
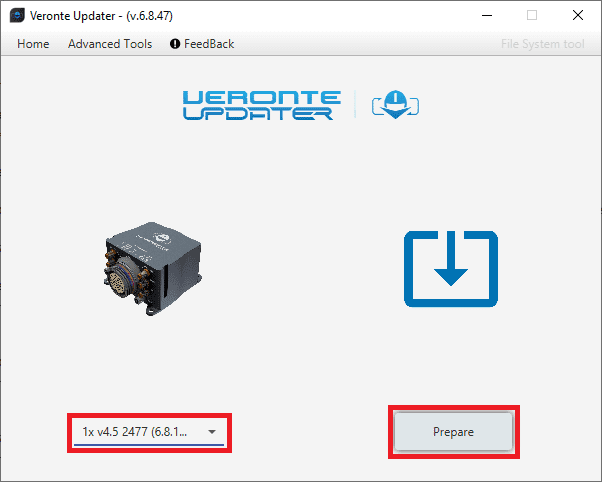
By selecting this option, the file memory of the connected device will be prepared for the update process.
Simply, select the unit to be prepared and click Prepare:
File system
The process will then start and the following windows will show the progress:
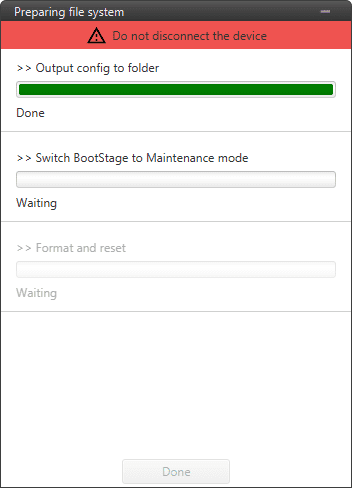
File system process
When finished, click on Done:
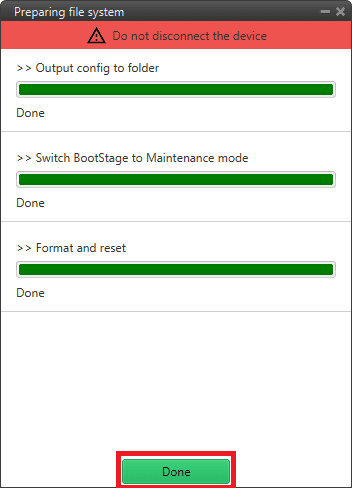
File system process finished
Upload files
In this tab, the user can load the updating files to the correponding slots of the connected device.
Note
The available slots in memory are displayed in the drop-down menu under the unit selection drop-down menu.
There are two ways to do this:
Doing it the same way as in the Home tab, i.e. selecting a
.updatefile and letting Veronte Updater internally place each.binfile contained in the.updatefile into each slot.For instance, if slot 0 is selected, one of the
.binfiles will be placed here and the other in the next slot, slot 1.Selecting a slot and uploading the first
.bin, then selecting the next slot and uploading the second.binfile.
In this example, the first option has been done:
First, select the slot to locate the
.updatefile:
Upload files - Slot selection
Secondly, drag the file to the Drag area or click on Select and select it from the local storage:
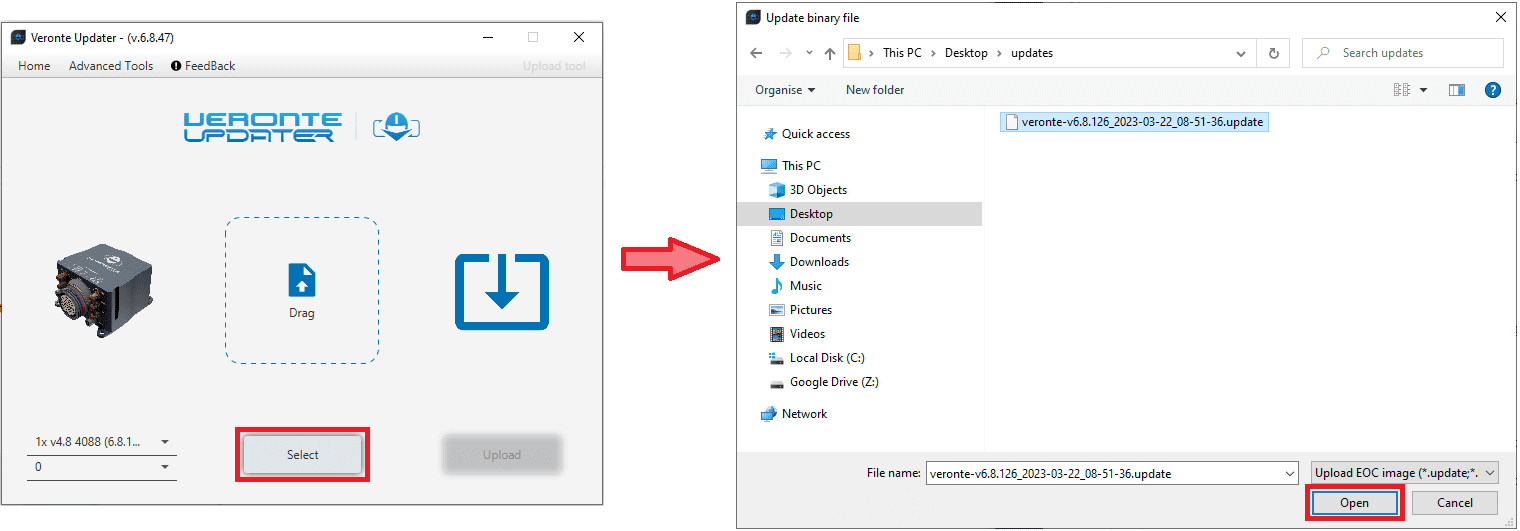
Upload files - Loading file
Once the
.updatefile is loaded, click on Update to send the configuracion to the device: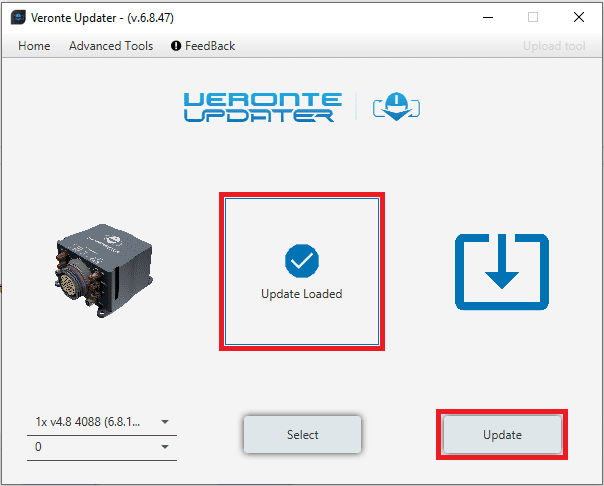
Upload files - Update loaded
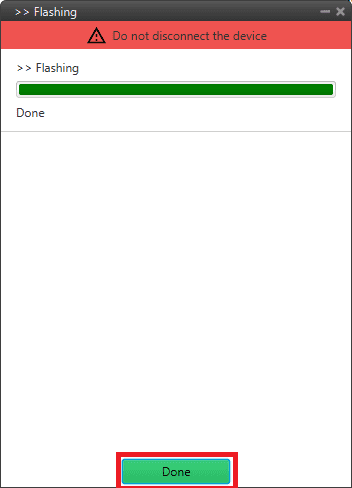
The process will start and the following windows will show the progress:

Upload files process
When finished, click on Done:

Upload files process finished
Flash tool
Finally, this tab will flash the device. That is, the connected device is renitialized and the files previously loaded into memory (in the slots) will be uploaded to the connected device.
Simply choose the desired unit to be flashed and the slot where the .update file has been located and click Flash:

Flash tool
The flashing process is quite quickly, finally click on Done:
Flash tool process
Flash Remote ID
Warning
THIS IS NOT PART OF THE UPGRADE PROCESS.
Whit this option, users can update the Remote ID product. For more information about this product, please contact sales@embention.com.
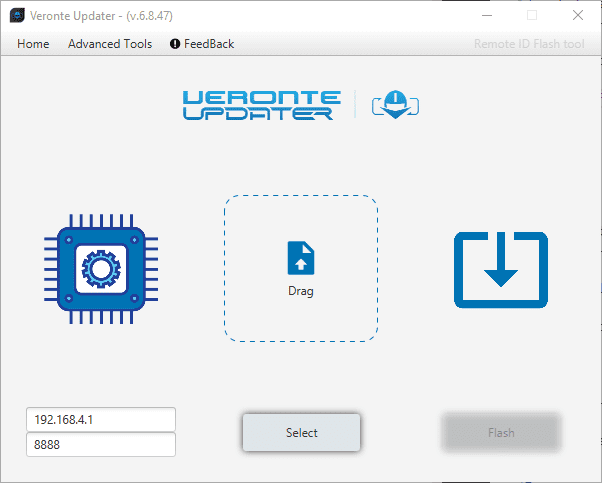
Flash Remote ID