Operation
Connection
Follow the steps below in order to setup the connection of PCS with a PC.
Interface
There are three different communication interfaces that can be used to connect the control station PC with PCS/T28:
USB
Connect the available USB connector directly to one of the USB ports on the PC.
Ethernet
If the PCS/T28 setup is Point-to-Point (TCP), connect it to the PC directly via Ethernet.
If the PCS/T28 setup is Broadcast (UDP), connect it via Ethernet directly to the net access port. A router that provides an IP adress to Veronte PCS via DHCP will be needed for operation.
Wifi
If the PCS has an enabled Wifi net, it will be possible to connect it using its wireless network.SSID and password can be found on the PCS case, along with the product Serial Number.
Veronte Pipe
Once the selected interface is connected, last step is to enable the connection in Veronte Pipe.
Open Veronte Pipe
On the top left corner, click on ‘Preferences’
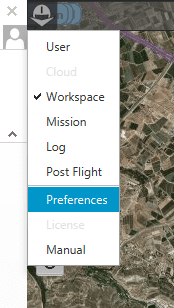
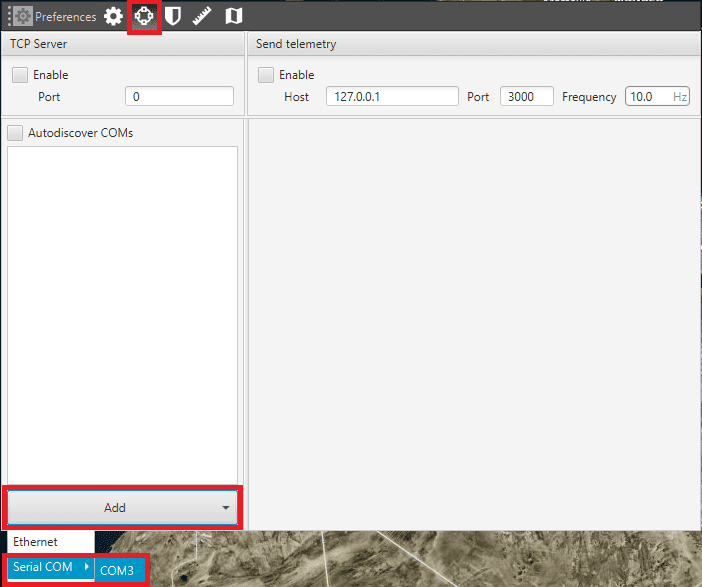
On the Preferences menu, access the ‘Connections’ Tab

USB
Click on ‘Add’ and then ‘Serial COM’
If a COM Port was detected, it will be listed here. Click on it in order to enable the connection
TCP (Point to Point)
For this setup, Veronte PCS creates a net where it holds a static IP address. The first device connected to the net will be also assigned a specific IP address.
This setup only allows to connect to one device at the same time.
Warning
If a different device wants to be connected, the system needs to be rebooted, or no device should remain connected to the net for 2 minutes. At this point, IP address will be available and can be claimed by a new device.
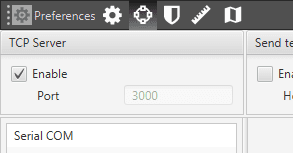
TCP settings can be found on the upper left corner.
On ‘Port’ field, type ‘3000’.
Click on ‘Enable’ box.
Tip
If connection is not setup correctly, please visit the Troubleshooting section.
Broadcast (UDP)
For this setup, once connected to the net, T28 will wait for an IP assignment from a router device via DHCP. Once the IP address is correctly assigned:
Click on ‘Add’ and then ‘Ethernet’
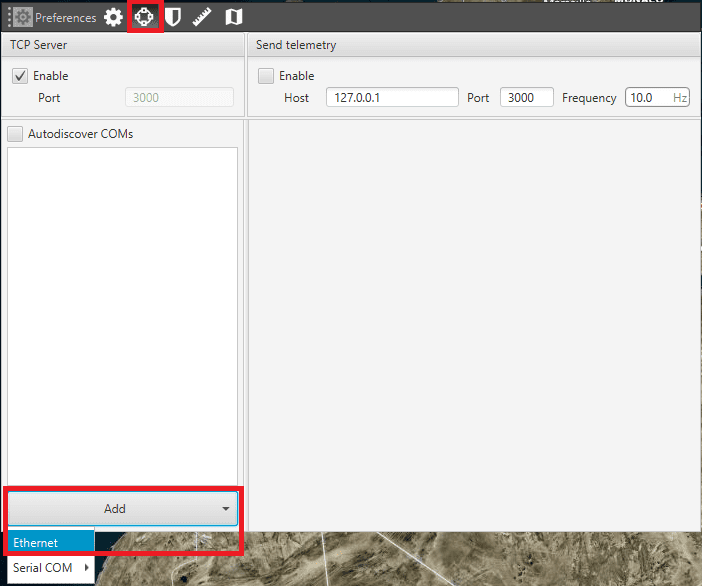
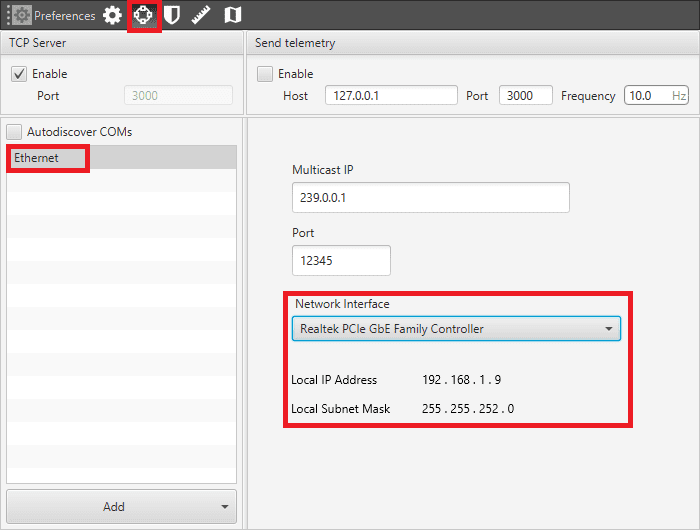
On the displayed dropdown list, select the net adapter that is currently being used to connect to the network.
Start operation
After powering the T28, the motors will set the antenna to a 45º position with respect to the horizontal axis. Once the PCS has been switched on, the antenna will move to 0º.
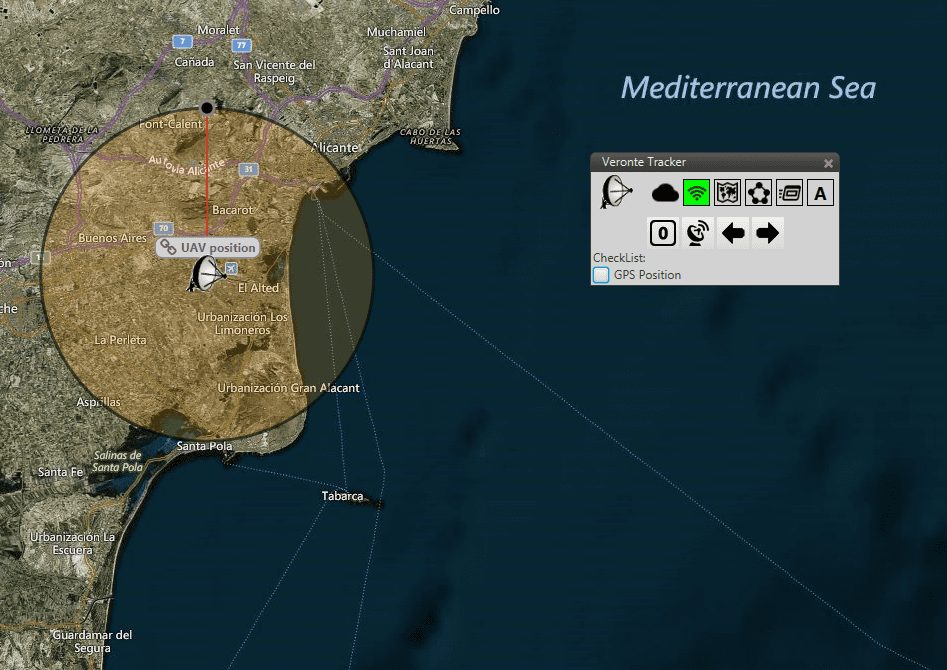
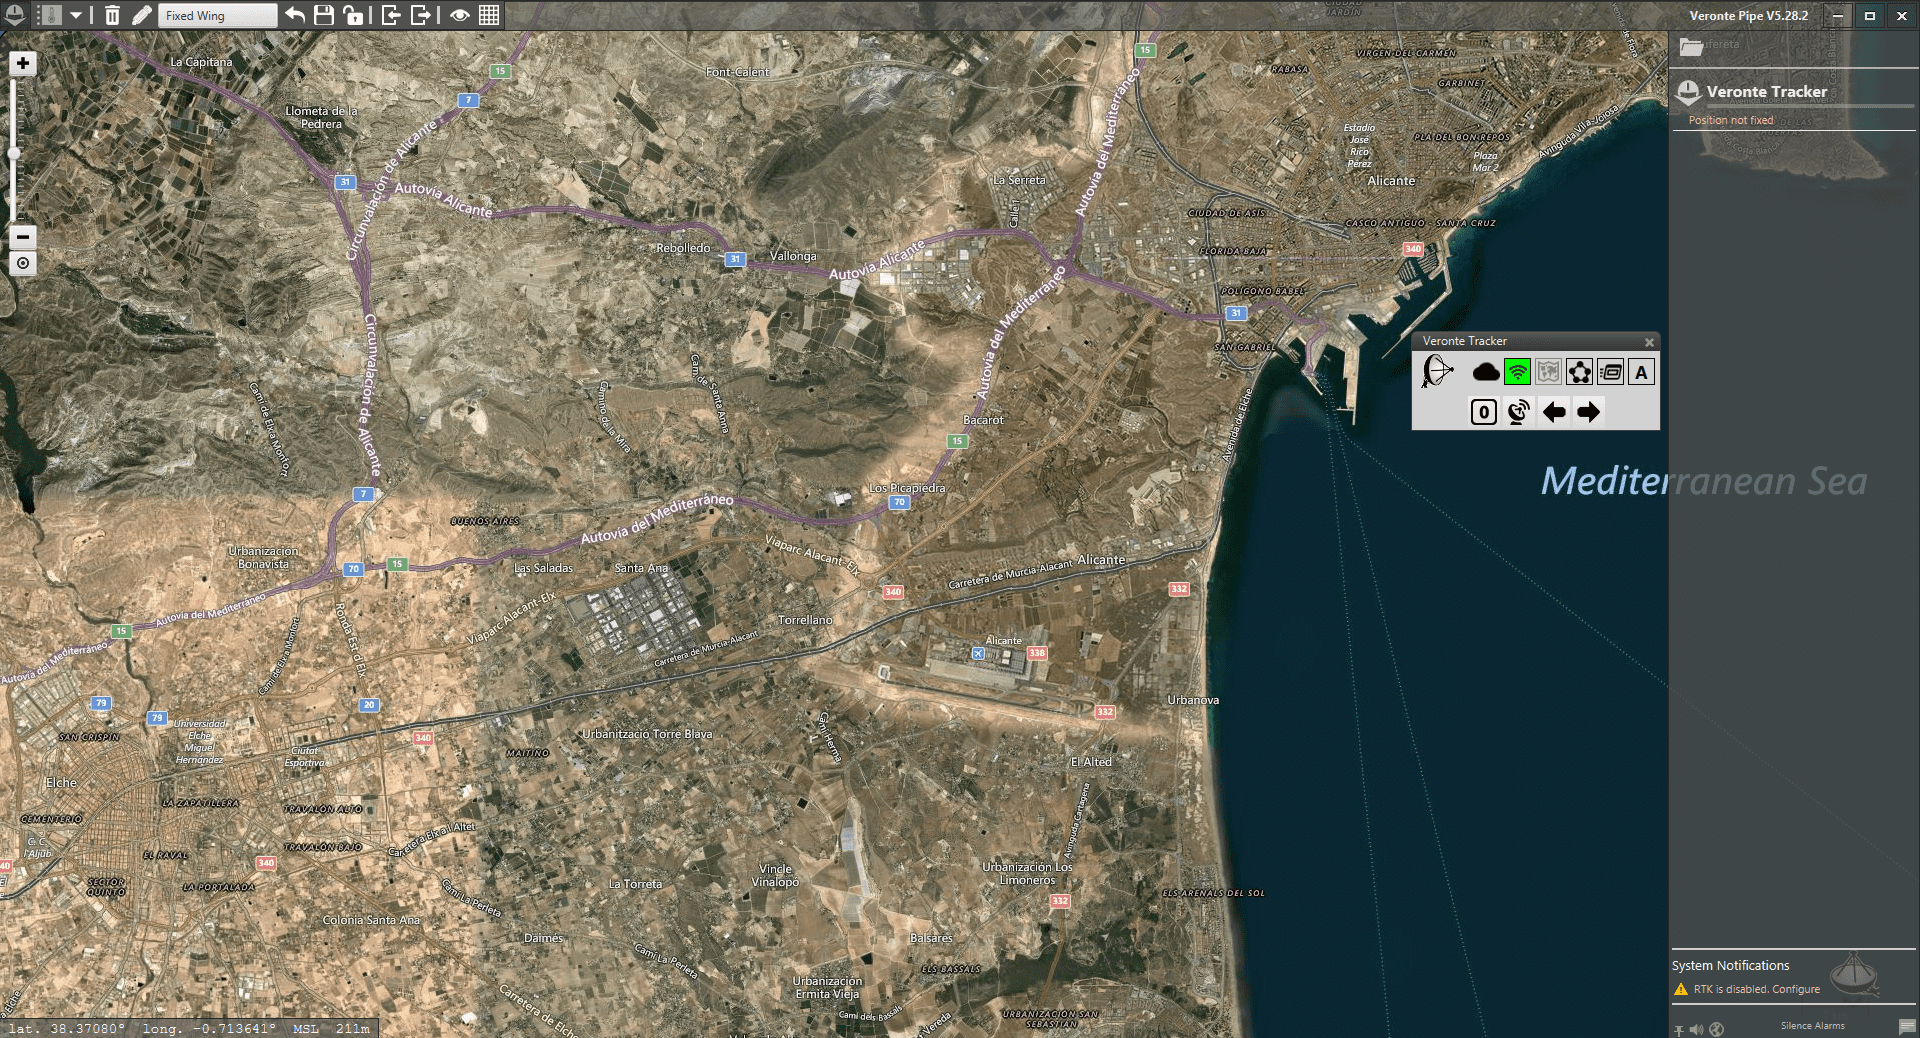
In Veronte Pipe, the position of the aircraft and the T28 should appear in the map once the GPS signal is stablished.
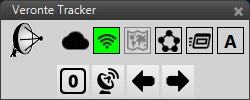
Press the neutral position command (0).
Trim the antenna by pointing North, using the arrow buttons.
Press the antenna button in order to start tracking.
Note
Use the aid of a compass device in order to trim T28. A trimming accuracy of ± 5 º is enough for a correct operation with Veronte T28.
Attention
Always check that GPS position for both air and ground segments has been stablished before sending the tracking command.
Tilt activation with range
By default, a circular area is attached to the GPS position of Veronte T28. Tilting movement of antenna is only activated if the target UAV is located outside this area
The radius of the circle can be changed in T28 by right clicking on it and setting a value for the radius or simply by dragging with the mouse the circumference.