Event Mark

Event Mark Tool
This tool allows to set an Event Mark over a track or attached to a waypoint. Marks are useful to start automations. When the aircraft flies over it, an event is triggered and it can be used as a condition to start a set of actions: add a lap to a counter, payload launch, take a photo, start video recording,…
To add an Event Mark, select the tool and click on the desired path point or waypoint. Initially, new marks appear as a pushpin. If you link an action to one of them, it will show the icon selected to this action.
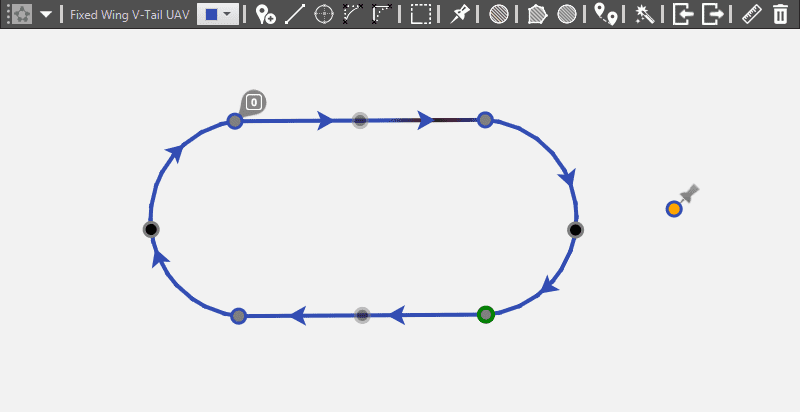
Event Mark examples
To access the properties of the mark, make double click on it:
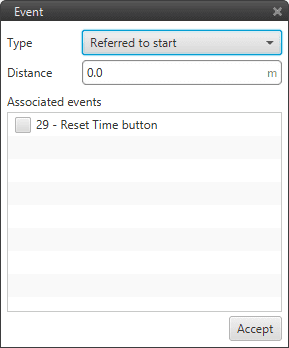
Event Mark properties
Type. Allows the user to select the type of mark reference. Right now all the marks are “Referred to start”, that means the position of the mark is relative to the starting point of the path in which the mark is. I
Distance. Is the horizontal distance along the path to the starting waypoint. If the mark is attached to a waypoint, distance will be zero.
Associated Events: List of events that can be linked to the mark.
Remember to save the changes to make them effective. After saving, all the marks created will appear in the Marks tab of the Open Details menu:
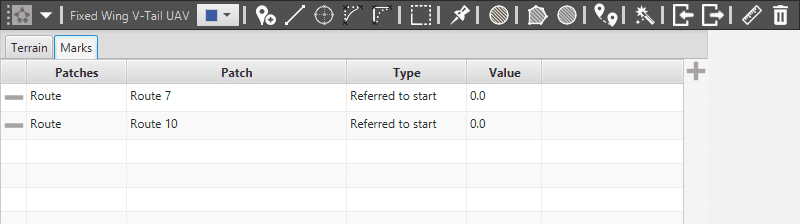
Marks List
Event creation and association
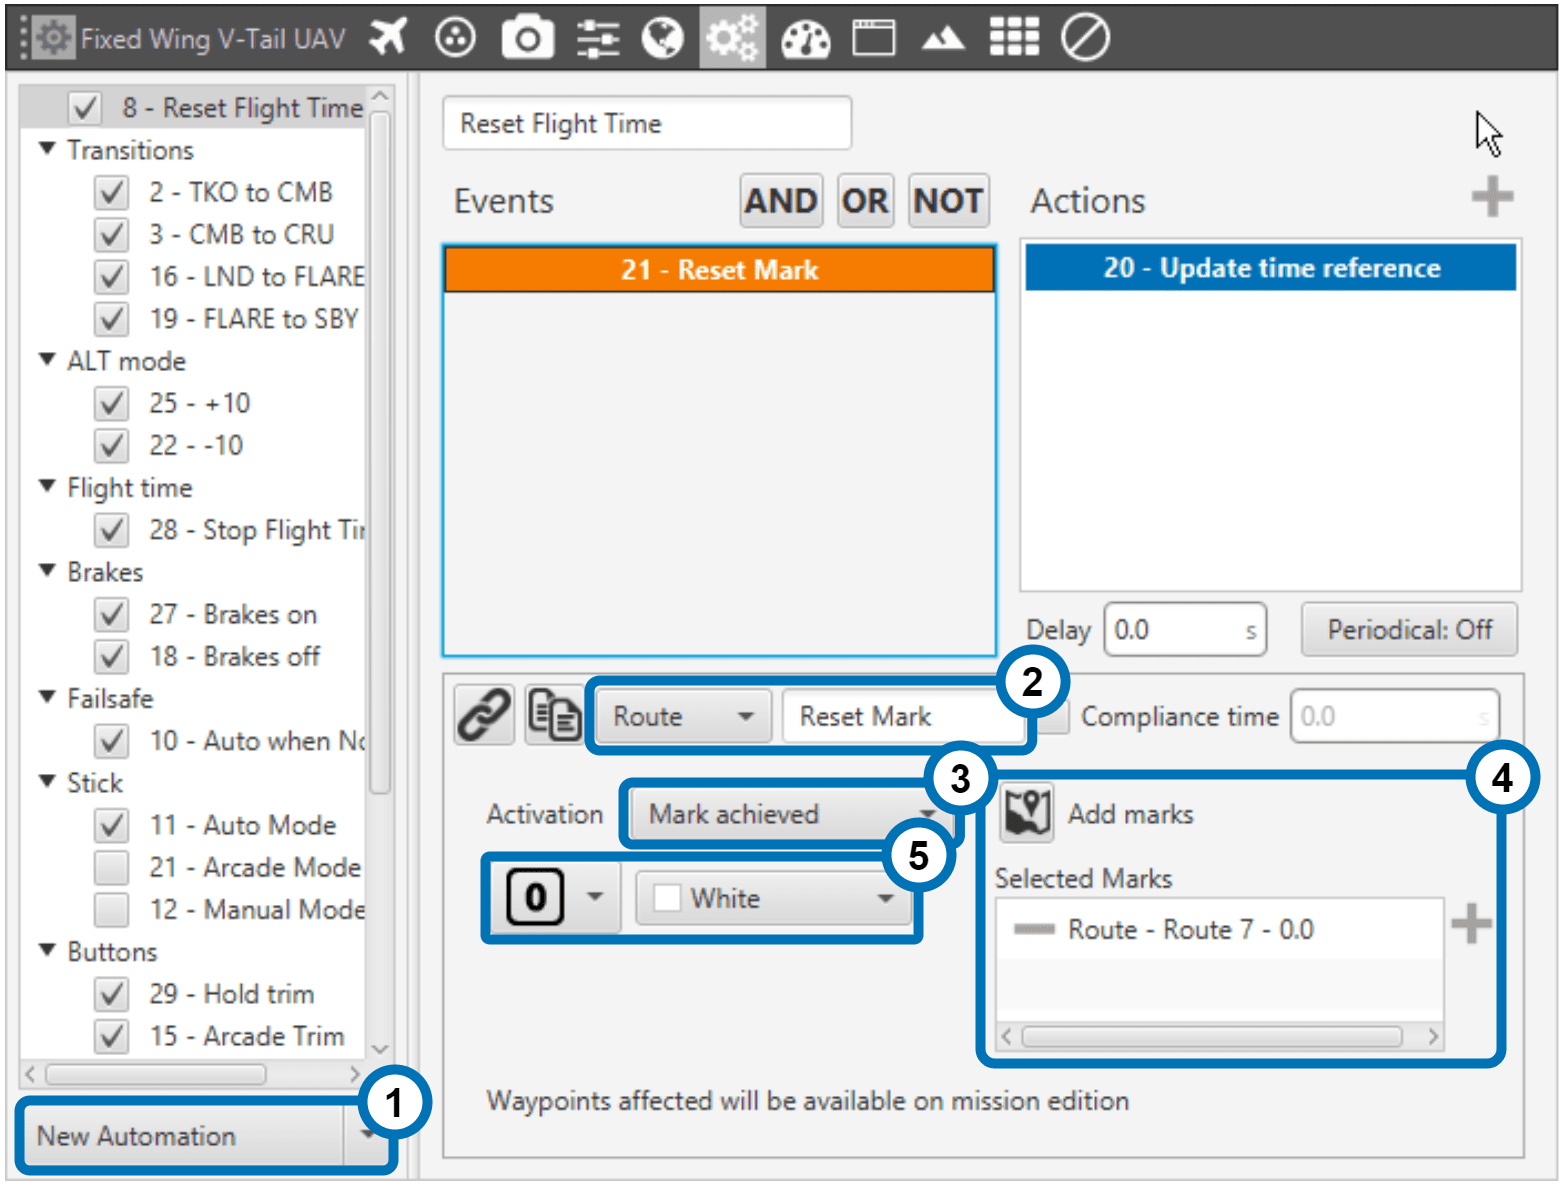
For this example we have created a new automation, Reset Flight Time, and created and associated an event to the mark in route 7 to trigger it:
Event creation and mark association
Clicking in Setup, in the subsection of automations, you can enter in the automations menu tab to link one event to one mark following the next steps:
New Automation. The first step is to choose or create a new automation. In this example we have created a new one: Reset Flight Time. After its creation, a list with events will show up. We select “New Event
Route. . We have changed its name to “Reset Mark” and selected the “Route” type in the drop down list.
Activation. In the drop-down list menu, we select “Mark Achieved”.
Add/Selected Marks. Click on
 , or
, or  , to select a mark in the map. We’ve selected the mark in Route 7. The user can select multiple marks for the same event. All the marks associated to this event will appear in this list. This is useful if some action needs to be repeated several times during a mission, for example taking photos at the desired locations or dropping payloads.
Icon and color. The final step is changing the icon and color of the mark to remember easily the automation linked to the mark. We have selected a zero icon, as it can be seen in previous photos. This step is optional but highly recommendable.
Remember to save the changes to make them effective.