Operation
To start using HIL Simulator, follow the next steps:
1. Connect the autopilot to a computer.
Use Veronte Link to stablish the connection, read the user manual for more information.

Open Veronte Link
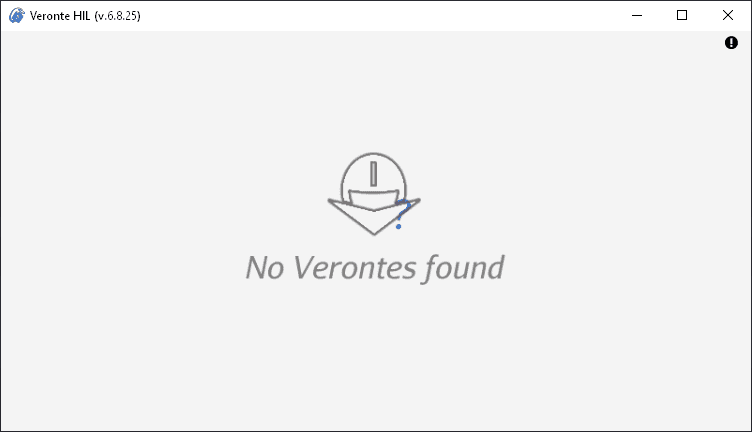
2. Open HIL Simulator.
The following window will pop up for a second.
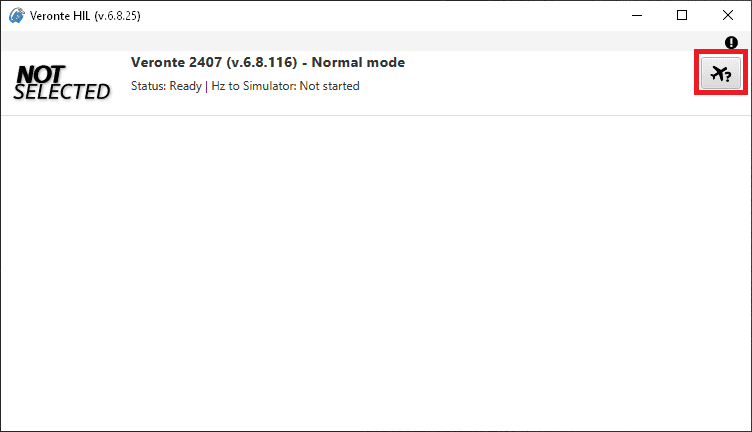
If the autopilot is properly connected, then the window will change as follows.
Note
HIL Simulator will run minimized in the Windows taskbar:

3. Choose a simulator.
Click on
 to choose one.
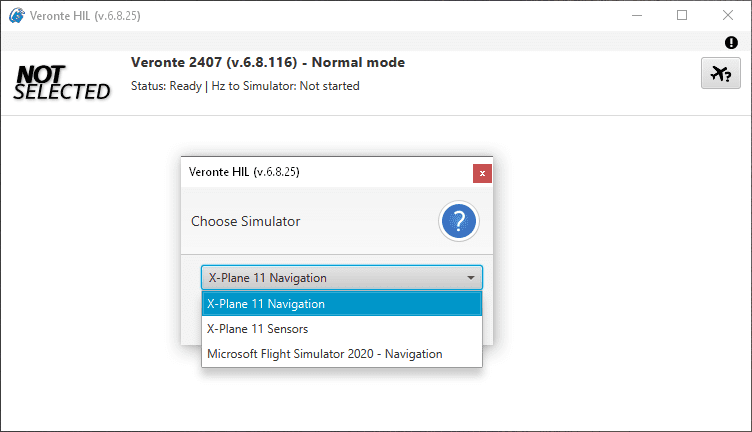
Then, HIL Simulator will be ready to start.
The following video summarizes steps 2 and 3:

Open HIL simulator and choose simulator
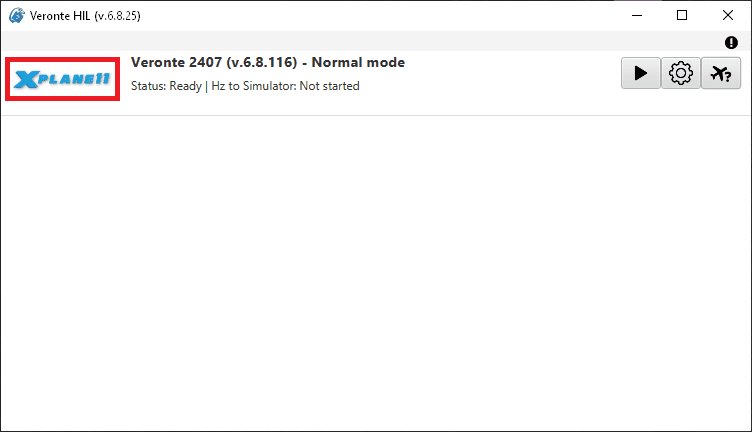
4. Configure the simulator (optional).
Default configuration parameters are recommended. To change them, click on
 .
.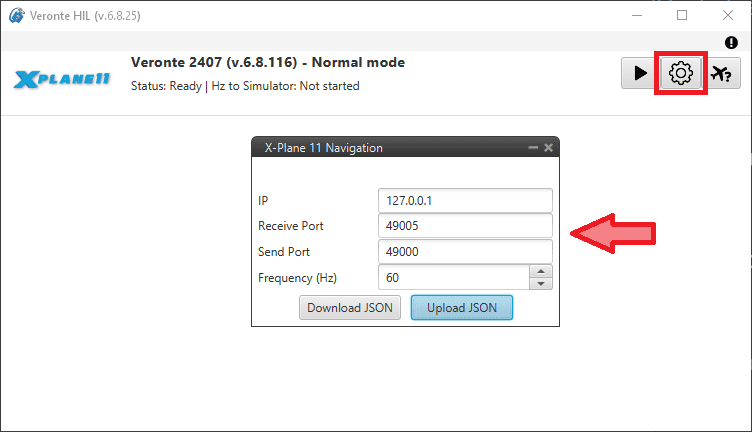
These four parameters must have the same value for the simulator. They are configured for X-Plane 11 in X-Plane Settings. Frequency (Hz) of Hil Simulator corresponds to UDP Rate (packets per second) of X-Plane, since the autopilot sends and receives data at this frequency.
After following the previous steps, read X-Plane 11 section to simulate the connected autopilot.